Keeping your mower blade in good condition helps your lawn look cleaner and healthier after every cut. A dull or damaged blade can tear grass, leaving your yard looking uneven and stressed. Whether you own a push, riding, or robotic mower, you can complete the process at home. In this article, we'll guide you through how to replace mower blade on different types of mowers and share a few tips for ongoing blade care.

What to Do Before Replacing a Mower Blade
Before starting a lawn mower blade replacement, take a moment to prepare your mower and work area. Proper preparation helps ensure a safer and smoother process. Here are the things to do:
- Wear Protective Gloves and Glasses: Wearing gloves helps protect your hands and gives you a secure grip, while glasses help shield your eyes from dirt, debris, or metal fragments.
- Work on a Flat and Stable Surface: Place the mower on a level surface and secure it. A stable setup helps prevent the mower from shifting while you're loosening or tightening bolts.
- Check the Replacement Blade: Make sure the replacement blade is new and compatible with your mower model, including the correct length, size, and mounting hole.
Tools and Materials You'll Need
The good news is that you don't need a garage full of equipment to replace lawn mower blade. Most of the necessary tools are common household items, making the blade replacement lawn mower task manageable. Here are the tools and materials you'll need:
- New mower blade
- Protective gloves
- Safety glasses
- Socket wrench
- Screwdriver
- Soft brush or damp cloth
- Mower lift
- Wooden block
How to Replace a Mower Blade Step by Step
The exact process depends on the type of mower you have. The basic principles are similar, but the blade and mounting hardware can vary. Before starting, compare the compatible types of lawn mower blades for your model, since the lift profile, center hole, and mounting pattern must match the mower. To help you do the job right, follow these steps:
Push Mower Blade Replacement
A push mower typically has one blade mounted under the deck. This makes the replacement process simple and quick. Here are the steps:
1.Disconnect the spark plug wire before touching the blade area.
2.If your mower contains fuel, drain the tank or use a fuel shutoff valve to minimize the risk of spills while tilting the mower.
3.Carefully tip the mower with the air filter facing upward until the blade is fully exposed.
4.Place a wooden block against the blade to prevent it from turning while you loosen the mounting bolt. Once the blade is blocked, follow the basic process for how to remove a lawn mower blade: loosen the mounting bolt, keep the washer and hardware together, and lift the old blade away from the spindle.
5.Use a socket wrench to remove the blade bolt and washer, then take off the old blade.
6.Inspect the blade mounting area for damage and clean away any grass clippings, dirt, or debris with a brush.
7.The next step in how to replace lawn mower blade is to position the new blade correctly on the mounting assembly.
8.Install the new blade with the raised edges or wings facing toward the mower deck.
9.Reinstall the bolt and tighten it securely. Avoid overtightening, as this can damage the blade or bolt.
10.Return the mower to an upright position and refill the fuel tank, then wait about 30 minutes before starting the mower.
11.Reconnect the spark plug, and then do a short mowing test.
Riding Mower Blade Replacement
Riding mowers have multiple blades (usually between 2–3) installed under a larger cutting deck. Although the process involves more components, the replacement steps are easy, and here's how you replace them:
1.Park the riding mower on level ground, turn off the engine, and remove the ignition key.
2.Disconnect the spark plug wires and engage the parking brake or chock the wheels to prevent the mower from moving.
3.Raise the mower deck to its highest position for easier access to the blades.
4.Use a mower lift to safely raise the front of the mower, creating enough space to work underneath the deck.
5.Use a wrench to turn the mounting bolts counterclockwise and take the old blades off.
6.Clean the blade mounting area and inspect the spindle assembly for signs of wear or damage.
7.Position the new blades on the mandrel shafts.
8.For how to change a lawn mower blade correctly, make sure the replacement blades are installed in the right-side up.
9.Reinstall the mounting hardware, then tighten the bolts securely.
10.Check that all parts of the mower deck assembly are properly installed and aligned.
11.Lubricate the mandrel bearings and any other parts with grease fittings.
12.Lower the mower from the lift and adjust the deck height to your preferred cutting setting.
13.Reconnect the spark plug, turn on the mower, and run a mowing test session.
Robotic Mower Blade Replacement
A robot lawn mower uses small rotating blades to deliver a clean and consistent cut. Fortunately, replacing these blades is quick and requires few tools. Here are the steps you can follow:
1.Turn off the robotic mower completely before starting the replacement process.
2.Place the mower upside down on a flat, stable surface to safely access the cutting blades.
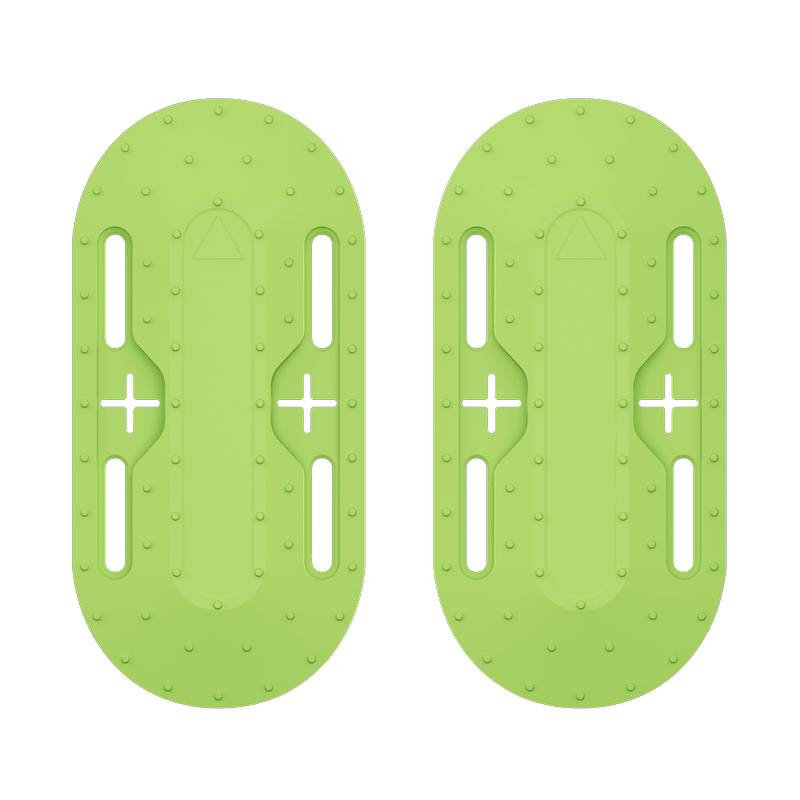
3.Rotate the skid plate until the access hole aligns with the blade screw.
4.Use a screwdriver to remove the screw, then take off the skid plate and old blade.
5.Clean the blade disc with a soft brush or damp cloth to remove grass clippings, dirt, and debris.
6.Position the new blade on the blade disc and align it with the mounting hole.
7.Reinstall the skid plate and tighten the screw securely. Avoid overtightening, as this may damage the blade assembly.
8.Return the mower to its normal position and turn it back on.
9.Run a short test session to make sure the blades can spin and cut evenly.
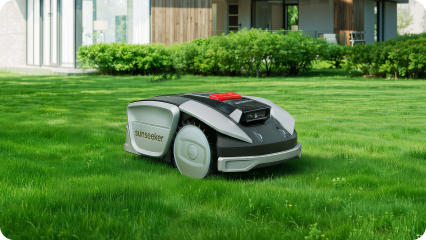
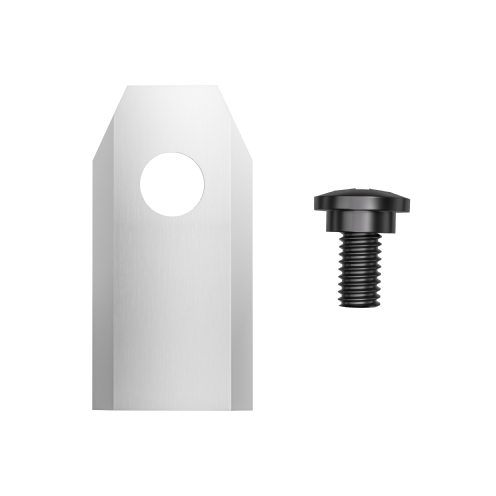
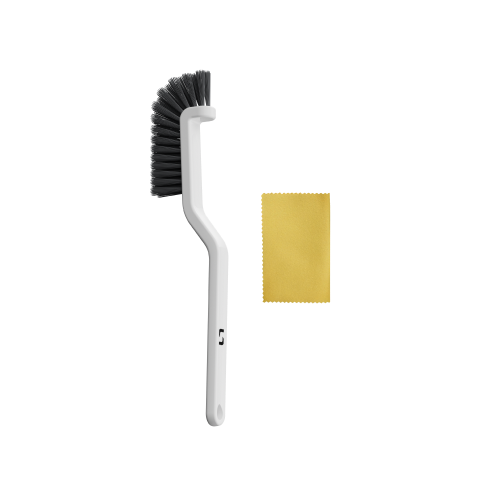
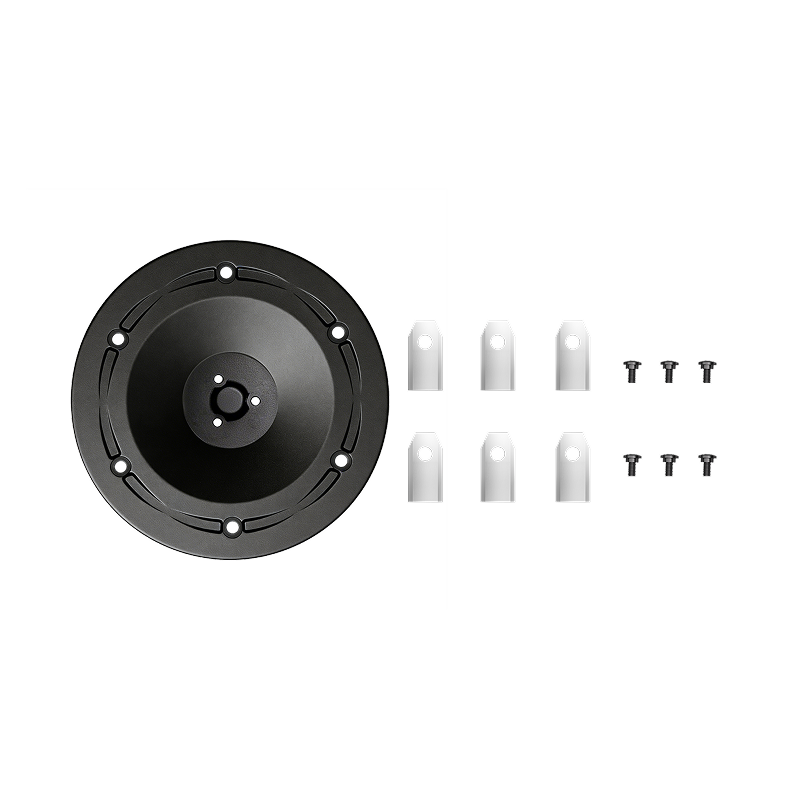
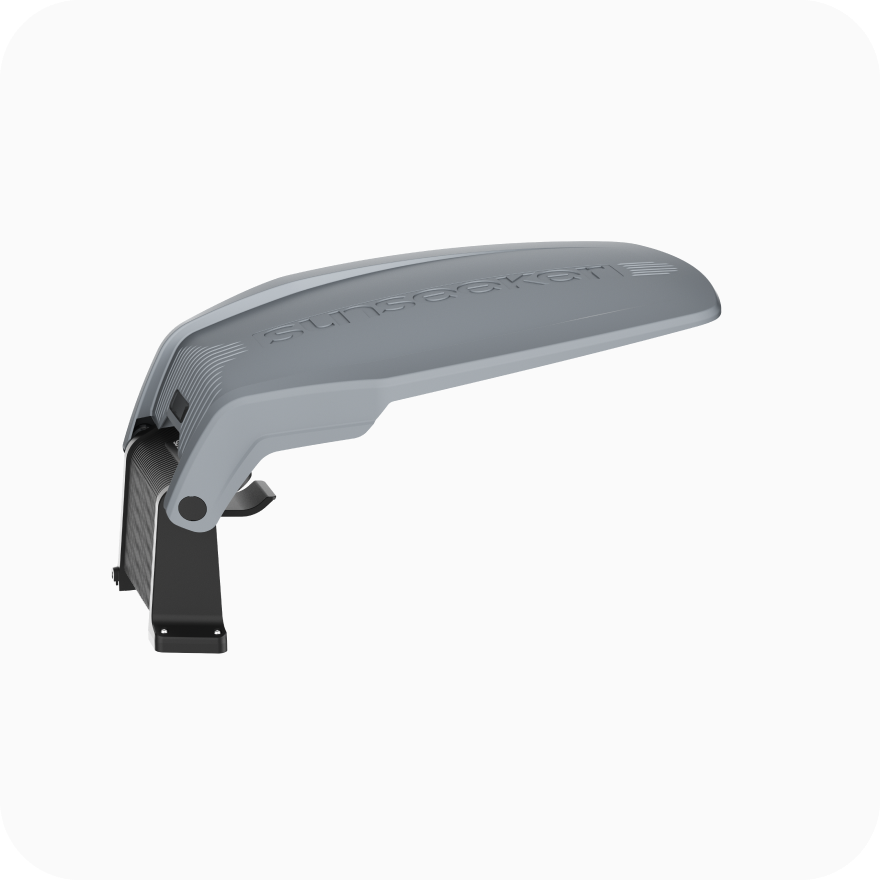
If you're looking for a robotic lawn mower that makes routine blade replacement simple, theSunseeker V1 is worth considering. This modern robot mower uses Vision AI technology and a floating cutting system with an adjustable height of 20–50 mm to provide precise and consistent mowing results. It also comes with a cleaning kit and blade set in the box, making ongoing maintenance more convenient right from the start.

How Often Should You Replace a Mower Blade?
Replace the mower blade every 1 to 2 months to keep the mower in good condition. However, don't rely on a schedule alone. Replace the blade as soon as possible if it shows signs of wear, becomes bent, develops cracks, or has heavy chips.
Mower Blade Care After Installation
Installing a new blade is only one step in the maintenance process. Follow these ongoing tips to extend blade life and achieve cleaner cutting results:
- Keep the mower deck clean: Remove grass buildup regularly to help the blade work more efficiently.
- Avoid mowing over debris: Clear sticks, stones, and other hard objects from the lawn to prevent blade damage.
- Sharpen when needed: If the blade is dull but still in good condition, sharpening it may restore cutting performance without a full replacement.
Conclusion
Replacing a mower blade can improve cutting quality, mower efficiency, and the overall appearance of your lawn. By following proper safety precautions, using the right tools, and understanding how to replace mower blade correctly, you can complete the job with confidence. Ultimately, your lawn mower will be better equipped to cut grass cleanly, reduce strain on the engine, and prevent uneven patches caused by a dull or damaged blade.
FAQs
Is it easy to replace lawn mower blades?
Yes, replacing lawn mower blades is usually a simple task for most homeowners. With the proper safety gear, basic tools, and the correct replacement blade, you can complete the job at home. While the process may vary slightly between push, riding, and robotic mowers, the overall steps can be completed with basic tools and careful preparation.
Which way do I turn the bolt to remove mower blades?
Most mower blade bolts loosen by turning them counterclockwise and tighten by turning them clockwise. Before applying force, secure the blade with a wooden block to prevent it from moving. Since some mower models may use reverse-thread hardware, it's always a good idea to check your manufacturer's manual first.
Which way do you tip a lawn mower when changing blades?
When changing the blade on a push mower, tip the mower with the air filter facing upward. This helps reduce the risk of fuel or engine oil leaking into unwanted areas. Before tipping the mower, disconnect the spark plug wire and drain the fuel if necessary for added safety.