To charge a mower battery is not rocket science, but doing it the wrong way can still damage your equipment or even create a safety risk. In this guide, we will walk through the safe way to deal with a dead or weak mower battery, from checking the power level and setting up a safe charging area to charging the battery step by step. You will also learn how long charging usually takes, which mistakes to avoid, and how to help the battery last longer.

Signs Your Mower Battery Needs Charging
How can you tell whether your battery is just low rather than completely dead, or whether the starter itself is defective? Here is how to spot the warning signs and test your battery so you don't waste time and money replacing the wrong part.
- A String of Clicks: When you turn the key, you hear a bunch of rapid clicks. The solenoid is trying to engage the starter, but the battery doesn't have enough power to do it.
- The Slow Groan: The engine rotates extremely slowly and sounds like it has just come out of hibernation.
- Dimming Lights: If your mower has lights, turn them on prior to pressing the start button. If the lights appear to be dimmer than normal, your battery does not have the ability to start the engine.
- Use a Multimeter: The better way to definitively determine the status is to use a multimeter on the battery's terminals. A fully functional 12V battery will register 12.6 - 12.7 volts. If the reading is below 12.2 volts, the battery is running out of power and is in need of charging.
Safety Precautions Before You Start
Lead-acid batteries contain sulfuric acid and produce flammable hydrogen gas while charging. A single spark can turn a routine job into a serious accident. Follow the recommendations below closely before touching any battery.
- Wear Safety Equipment: Wear safety glasses and heavy rubber gloves. Sulfuric acid burns clothes and skin.
- Ensure Proper Ventilation: Charge your battery outside; either on the driveway or with the garage door wide open. Do not charge a lawn mower battery near a water heater, furnace, or someone smoking. Ensure there are no open flames from the battery charging area.
- Examine The Battery for Damage: Before connecting your charger, check the casing of your battery for cracks, leaks, or bulging. If the casing is bulging, then the battery has suffered an internal short and charging the battery could result in fire. A bulging casing indicates the battery is a total loss and must be recycled immediately.
How to Charge a Mower Battery Step by Step
To knowhow to charge a lawn mower battery, use the following steps to eliminate any possibility of creating a spark during this process.
- Turn Everything Off
Position the mower on level ground with the parking brake engaged and the key removed from the ignition to eliminate electrical loads while working on the battery.
- Clean Battery Terminals
Corrosion acts as an insulator blocking the flow of electricity. If you see white, green or any powdery build-up on the terminals, remove it. Create a mixture of 15 grams of baking soda with 250 milliliters of warm water. Use an old toothbrush to scrub off the build-up and towel dry the area.
- Connect Positive Clamp First
Attach the positive (red) clamp from your battery charger to the positive terminal on the battery. Look for the plus sign (+)or the red rubber cover.
- Connect Negative Clamp Last
Attach the negative (black) clamp from your charger to the negative terminal (-) on the battery.
- Adjust Charger Settings
Set the charger to the appropriate voltage (almost always 12 volts for modern riding lawnmowers) and use the lowest, most economical amperage possible. 2 amps works well for these batteries.
- Plug in Charger
Only plug in the charger after clamps are securely attached to the battery terminals to prevent dangerous sparks above the battery vents.
- Disconnect Charger Safely
Once fully charged, disconnect charger in reverse order of connection. First, unplug the charger from the wall; then remove the black (negative) clamp, followed by the red (positive) clamp.
How Long Does It Take to Charge a Mower Battery?
With a little patience, you can save big. Applying too much amperage too quickly to a small battery will produce excessive heat which distorts the internal lead plates. Charging ride on mower battery has a capacity of 20–30 amp-hours.
Refer to the table below for approximate charging times with each type of charger output:
Charger Output Setting
Estimated Charging Time
Best Use Case
2 Amps
5 to 10 hours
Ideal; Safe for battery longevity.
5 Amps
2 to 4 hours
Possible; Requires careful monitoring.
10 Amps or Higher
Not recommended
Dangerous; Can cause drying out and venting acid.
A 2-amp trickle charge gives sufficient time for chemical reactions to reset internally without overheating the battery and ruining it.
Common Charging Mistakes to Avoid
How to charge lawn mower battery without making costly mistakes? This section describes various common mistakes, such as bad charger settings or extreme temperatures, to help you extend the life of your battery.
- Avoid heavy-duty automotive fast chargers: The 40-amp "jump starter" setting will fry a lawn mower battery in minutes because the high current will boil away the fluid inside the battery.
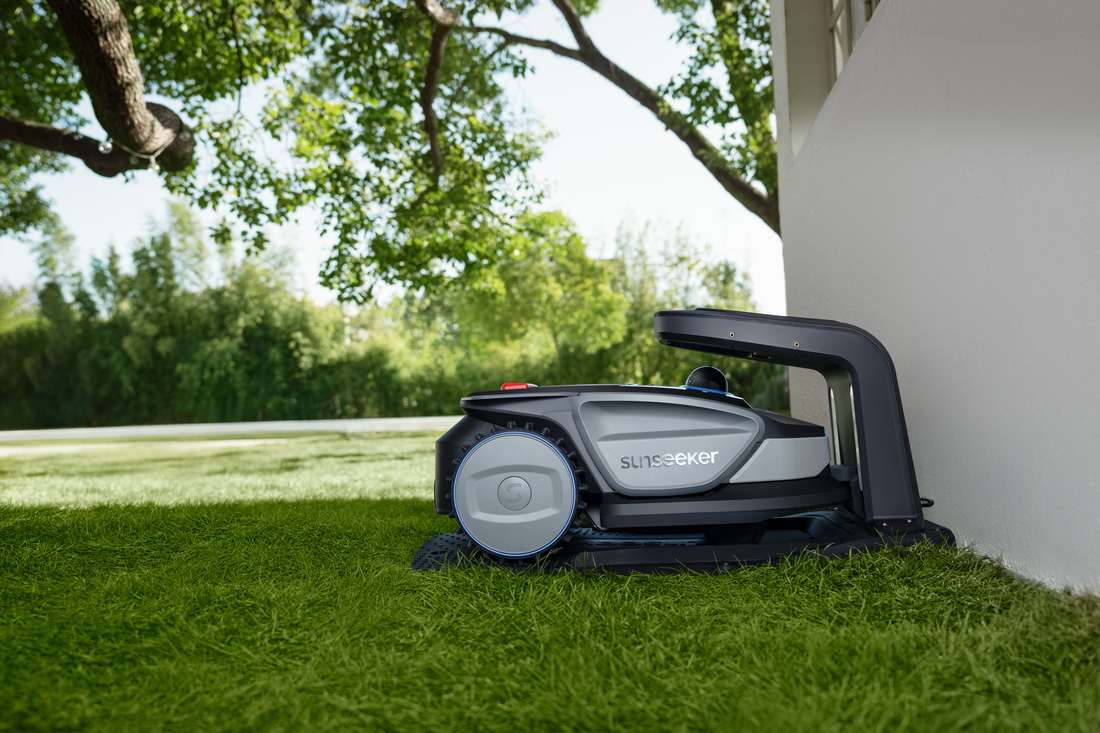
- Don’t leave manual chargers connected: Regular manual chargers do not know when to stop charging and will continue to put more power to the battery until you disconnect them. If left connected for an entire weekend, they will ruin the battery. When charging a lawn mower battery in this situation, please always use an automatic smart charger, or bypass this danger completely with an autonomous mower like the Sunseeker S3 that automatically returns to its base and stops charging when full.
- Don't charge frozen batteries: If you store your mower in an unheated shed during freezing weather, the fluid may freeze solid when it drops in charge. Attempting to charge a frozen battery may break the battery case. In this situation, charging lawn mower battery must thawed in an indoor room temperature (15–20°C) before attempting to do it.
Tips to Help Your Mower Battery Last Longer
A good lawn mower battery should easily last 3 to 5 years. If you are replacing your battery every spring, you most likely are not performing the off-season maintenance needed to extend the life of your battery. This section provides you with useful maintenance tips so you can get optimal performance and maximum life from your mower battery.
- Invest in a smart maintainer: Before storing the battery for the winter months, remove it from the mower and place it on a dry shelf above freezing (ideally 5–22°C). Connect the battery to a smart battery maintainer. This type of device will automatically switch between 'on' (charge) and 'off' (maintain) modes as the battery enters and leaves the low state-of-charge while in storage. Alternatively, upgrading to an advanced lithium-ion model like the smart Sunseeker S4 eliminates this tedious battery-tending routine, as it requires nothing more than a full charge and a safe indoor spot for the winter.
- Keep the top surface of the battery clean: Dust, moisture, and spilled oil on the top surface of the battery can short out a battery by creating a conductive path between the positive and negative terminals. Wipe the top surface of the battery casing with a clean, dry cloth at least once every month.
- Check the tightness of battery terminals: Lawn mowers vibrate a lot when running. Over time, this constant vibration will loosen the connection of the battery terminals to the battery. A loose terminal connection will create high electrical resistance which will not allow the mower’s internal alternator to charge the battery while cutting grass.
Conclusion
To charge a mower battery safely, you need the right charger, a safe charging area, and the correct connection order. Use a dedicated low-amp smart charger, and charge the battery in a dry, well-ventilated place. Wear eye protection, connect the clamps properly, and always unplug the charger from the outlet before removing them.
Good battery care does not stop after charging. Keeping the battery clean, fully charged, and stored properly through winter can help your mower start more easily in spring. That way, you will not be stuck facing tall grass with a dead machine.
FAQs
Can you recharge a dead lawn mower battery?
Yes. If your lawn mower battery has only been discharged, it may be brought back to life with a smart charger or low-amp charger. If the battery is cracked, swollen, leaking, repeatedly discharged, or won't charge after approximately eight hours, the battery should be replaced for safety reasons.
What's the best way to charge a lawn mower battery?
Charge your battery using a smart charger or a trickle charger that is appropriate to the battery's voltage and chemistry. For most riding lawn mower batteries, a 1–2 amp smart charger will provide a slow, gentle charge. Connect the positive cable first, then the negative, and then plug in the charger.
Do you charge a lawn mower battery on 6 volt or 12 volt?
Almost every lawn mower built since 1980 has a 12-volt battery, so it is safe to use the 12-volt charger as the default. Some older or smaller lawn mowers may use a 6-volt battery. Always read the label on the battery before you connect the battery to a charger to ensure that you have the correct voltage for the battery.