You wake up on a Saturday morning, the grass is growing rapidly, and you are ready to tackle the yard. You jump on your riding mower, turn the key and hear a sad metallic click; the battery is dead. You stand in your garage sweating from the heat and frustration, hoping you won’t see sparks from the jumper cables or accidentally short-circuit the battery.
This guide will show you how to install lawn mower battery, provide you with all of the steps needed for changing the battery in your lawn mower safely and effectively.

What Do You Need to Install a Lawn Mower Battery?
When replacing a lawn mower battery, safety is your top priority. A standard riding mower battery can weigh around 7–9 kg, and many lead-acid batteries contain corrosive electrolyte. Wearing appropriate personal protective equipment (PPE) will help to prevent serious chemical burns, as well as injuries caused by electrical arcs when working on the battery.
Ensure you have these essential tools on your workbench before installing lawn mower battery replacements:
- Wrench Set (8 mm - 10 mm)
How to Install a Lawn Mower Battery Step by Step
Changing lawn mower battery takes less than twenty minutes when you break it down into logical steps. Here is how to replace lawn mower battery and install the new unit correctly.
Step 1: Position and Secure the Mower
Park your lawn mower on a solid, level concrete surface. Turn off the ignition, remove the key and firmly set the parking brake. Lift the seat or open the hood to gain access to the battery compartment.
Step 2: Disconnect the Negative Cable First
When figuring out how to disconnect a lawn mower battery, always remember: negative comes off first. To find the negative cable, locate the terminal marker (-) and black wire. Loosen the negative terminal bolt using a 10 mm wrench and slide the negative cable off of the battery post. Tape it out of the way.
Step 3: Disconnect the Positive Cable
Locate the positive terminal by looking for the plus sign (+), the red wire, or the red plastic cap. Unscrew the bolt holding the positive cable to the battery post. This completes the removal process for how to remove a lawn mower battery. By removing the negative cable first, ensure that if your wrench slips while disconnecting the positive side, touching the metal frame won't create a dangerous electrical arc.
Step 4: Release the Hold-Down Bracket
Next, you will need to remove the metal or rubber battery hold-down bracket from the top of the battery. Keep the small nuts and bolts in a secure place so they don't get lost.
Step 5: Remove the Dead Battery
Grasp the battery firmly with both hands and lift it straight out of the battery box. Keep it upright to avoid leaking any electrolyte. This finishes the process of how to remove battery from lawn mower. Place the old unit on a piece of scrap cardboard and keep it upright until you can recycle it properly.
Step 6: Clean the Connectors
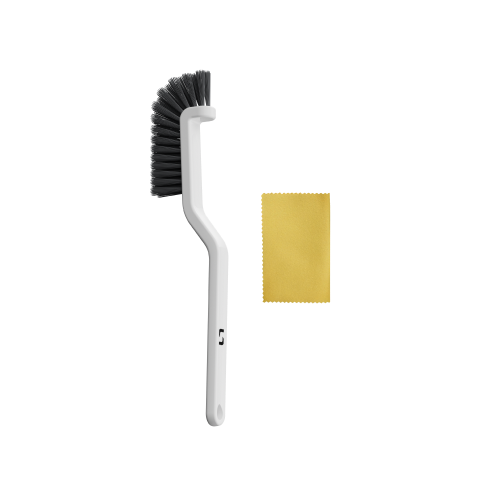
Check the empty tray for dirt or corrosion. Clean the cable connectors with a wire brush to ensure good electrical contact when starting the engine.
Step 7: Insert the New Battery
Put the fresh battery into the tray with the correct orientation. It is essential that the positive and negative posts are aligned perfectly with their wires. Before fitting the replacement, confirm what voltage a new lawn mower battery should have for your model; most riding mowers use 12-volt batteries, but the label and manual should take priority. Reversing the polarity can damage the voltage regulator or other electrical components. Keep this in mind when learning how to install a lawn mower battery.
Step 8: Connect the Positive Cable First
Now focus on how to hook up a lawn mower battery safely. Connect the red (positive) cable to the positive (+) post first. Tighten the bolt securely to ensure a solid connection.
Step 9: Connect the Negative Cable
Finish hooking up a lawn mower battery by attaching the black (negative) wire to the battery's negative (-) post. Tighten it down firmly. Apply a small amount of dielectric grease over both connections to seal against moisture and help prevent future corrosion.
Step 10: Reinstall the Hold-Down Bracket
Reinstall the retaining bracket over the top of the new battery and tighten down the hardware. Gently shake the battery to make sure it will not be able to move during usage, especially in rough areas.
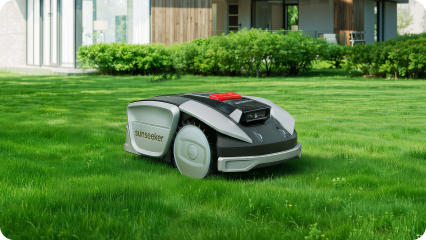
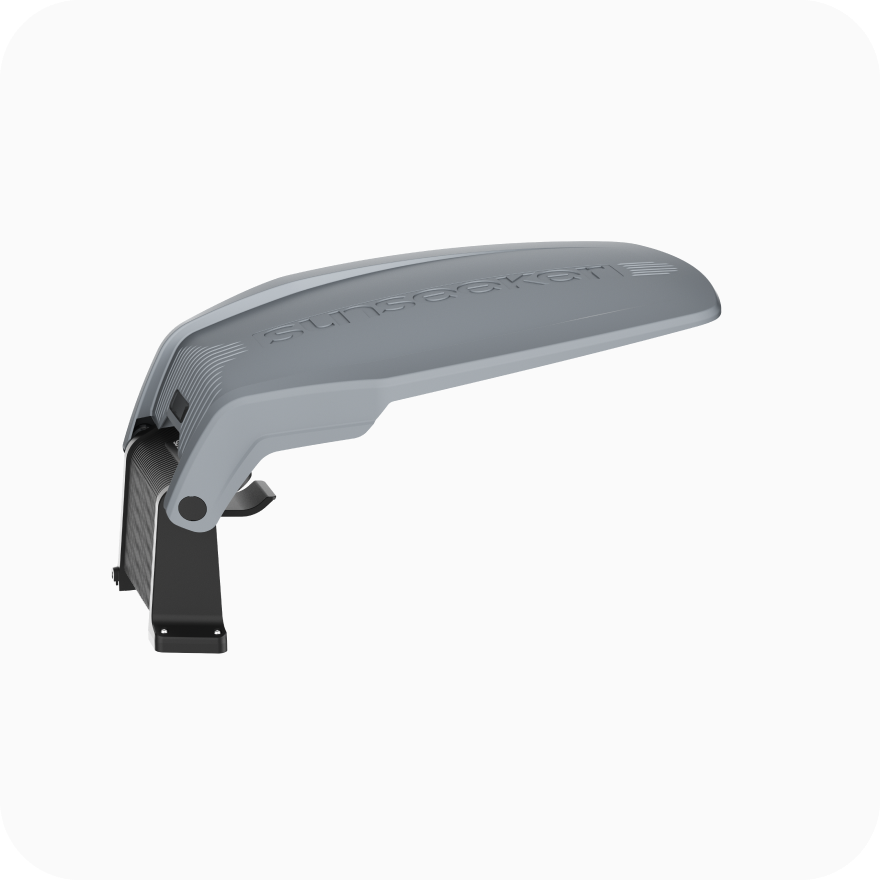
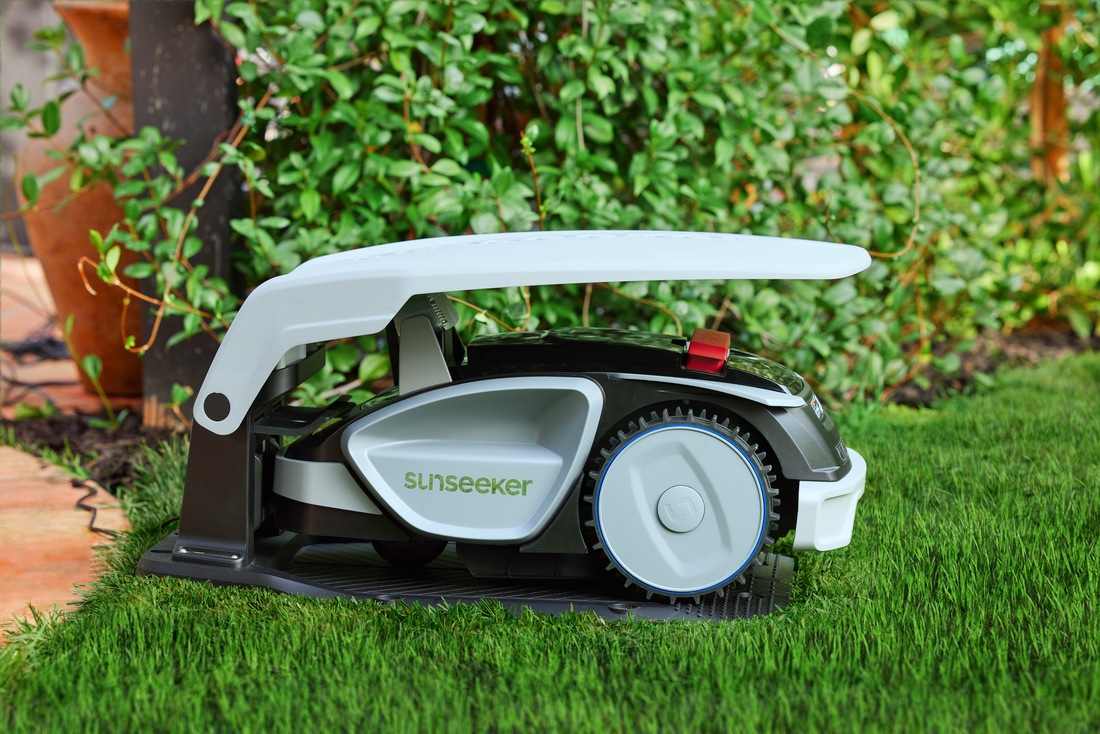
Now that your mower is running again, think about the time you will spend on charging each season. Instead of manually charging your mower before each mowing session, you could consider an automated option like the Sunseeker S4; it will handle its own charging as soon as the battery is low by returning to the base station for surge charging, eliminating the need to manually charge batteries for lawn care.
Troubleshooting After Installing a Lawn Mower Battery
If you turn the key and the engine is silent, check the connections first. In many cases, the problem has been due to an incorrect connection or a terminal not making good contact with the battery. To find the source of the problem, check these three potential places of failure:
If the starter solenoid clicks rapidly but does not turn the engine over, check that the battery terminals are tight. If the connections are secure, the battery may need charging.
If the headlights do not turn on and the dashboard lights are out, look for a blown fuse. This may be caused by a blown fuse, a loose connection, or a short circuit during installation. Replace the fuse with one of the same amperages specified in your mower’s manual.
- Slow CrankingSince a brand-new battery may have sat in the store for months, it might lack a full charge. Connecting a 12-volt smart charger at a low 2-amp setting for a few hours can help bring the battery to a full charge. If slow cranking continues, charging a mower battery with a compatible smart charger is the next step; repeated jump-starts do not restore a full charge.
Since a brand-new battery may have sat in the store for months, it might lack a full charge. Connecting a 12-volt smart charger at a low 2-amp setting for a few hours can help bring the battery to a full charge.
Conclusion
By mastering how to install lawn mower battery, you will gain an important skill as a homeowner to use and save on maintenance costs. If you stay organized, disconnect the negative cable first during removal, and connect the positive cable first during installation, you can do the job safely without a trip to the service shop. Make sure you clean the terminals and store the battery in a dry, non-freezing place during winter. With proper care, your mower will be ready for a pristine lawn all summer long.
FAQs
When installing a lawn mower battery, which terminal first?
The positive wire should always be connected to the battery first because it will prevent accidentally making an electrical ground through the body of the machine during battery installation. Therefore, negative wire should always be connected after the positive wire.
How often should I replace my lawn mower battery?
Most batteries last 3–4 years with good care, but extreme heat, vibration, and complete discharge during winter can shorten their lifespan and reduce performance. If you need multiple jump-starts or notice that the battery will not hold a charge overnight, it may be time for a new one. The 3–4 year estimate varies by brand, usage, and climate, so it should be treated as a general guideline.
How do you properly reattach a lawn mower battery?
To ensure success when replacing a lawn mower battery, lay it into the battery tray flat and use the mounting strap to secure it. Make sure to clean the wire leads with a wire brush, connect the positive cable first, and then the negative cable. Applying dielectric grease to the terminals after tightening the connections is also recommended.