A stack of fresh sod can look ready to unroll anywhere, but the grass has very little stored time after it has been cut. Rolls can heat and dry quickly, while an uneven or dusty seedbed leaves air gaps beneath the roots. Most installation problems are easier to prevent before the first strip is placed.
The best sod jobs are simple and organised: finish the soil first, have water ready, lay each piece tightly, and shift irrigation as roots develop. The sections below walk through preparation, installation, watering, and the point when the new lawn is ready for normal use.
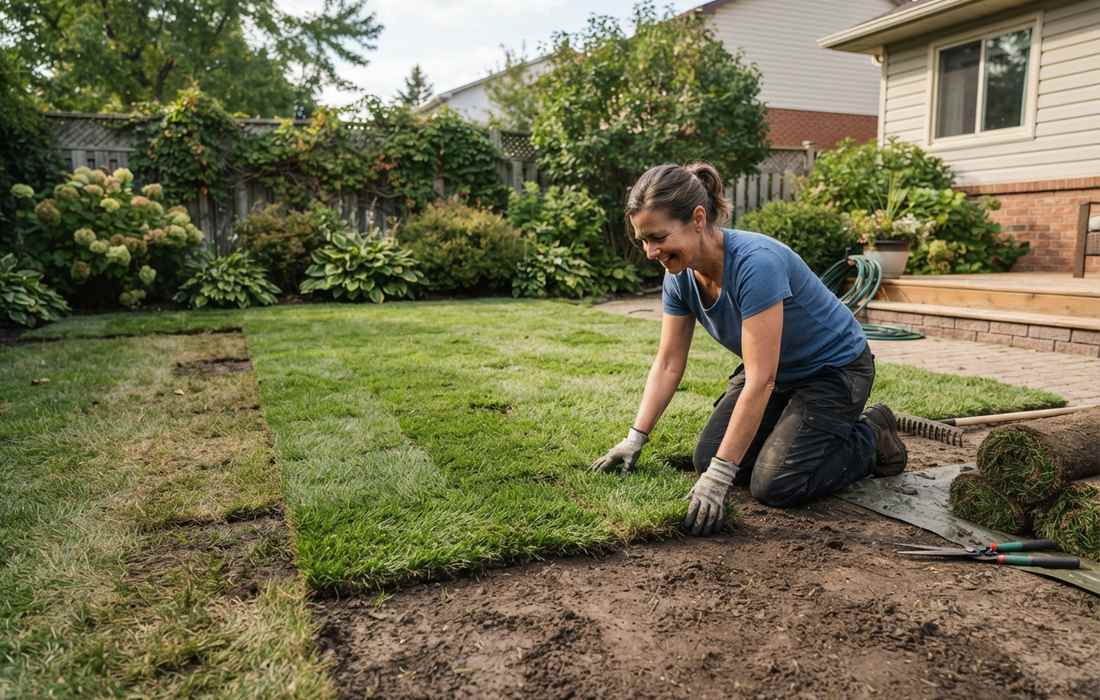
What Should You Prepare Before the Sod Arrives?
Sod installation moves quickly when delivery arrives, so the soil and equipment should already be ready. Use the checks below to remove delays that can leave rolls heating on a pallet or drying at the edges.
Remove the old lawn and weeds: Strip failed turf and persistent weeds rather than laying new sod over living vegetation. Roots need direct contact with prepared soil, not a buried layer of old grass and thatch.
Finish the grade: Fill depressions, remove stones, and create a smooth surface that follows the intended drainage. Allow for the thickness of the sod beside paving so the final surface does not sit awkwardly high.
Check the soil: Use a soil test to guide lime and nutrient corrections. Improve severe compaction before final raking, and solve standing water problems rather than covering them with turf.
Order enough sod: Measure the grass area in square metres and add roughly 5% for trimming on simple layouts or closer to 10% where there are many curves and obstacles. Confirm roll dimensions with the supplier.
Plan same day installation: Fresh sod is best laid very soon after cutting. A common practical target is within 24 hours of harvest or delivery, sooner during warm weather when rolled turf can heat rapidly.
Have irrigation ready: Check hoses, sprinklers, and coverage before the truck arrives. The finished area must be watered immediately, so repair blocked nozzles or low pressure in advance.
How to Lay Sod Step by Step
Good sod installation relies on firm soil contact, tight seams, and prompt watering. Work through each stage in order so the new lawn can root evenly and establish well.
Step 1. Lightly Moisten the Prepared Soil
Dampen dry soil just before laying so the root surface does not meet a hot, dusty bed. The soil should be evenly moist but firm enough to walk on without leaving deep footprints. If it turns muddy under your shoes, wait for excess water to drain.
Step 2. Lay the First Row Along a Straight Edge
Use a driveway, path, string line, or another reliable straight reference for the first row. Unroll each piece gently and press its end against the previous piece without stretching it. A straight first course keeps later rows aligned and reduces wedge shaped gaps.
Step 3. Stagger the Next Rows
Offset the end joints so they do not create one long seam across the lawn. Fit side edges snugly together, similar to brickwork, and keep each roll flat. Gaps dry rapidly; overlaps create raised ridges that can later be scalped.
Step 4. Trim the Edges
Use a sharp sod knife or half moon edging tool to cut around curves, beds, drains, and paving. Make clean cuts and avoid tiny slivers that dry out quickly. Where a narrow gap remains, use a larger fitted patch cut from a spare piece.
Step 5. Press the Sod Into the Soil
After a section is laid, press it gently so roots meet the prepared soil with minimal air gaps. A light roller, often filled to roughly one third of its capacity if the model allows, is enough on many sites. The aim is contact, not compaction.
Pay extra attention to corners and seams. If a piece rocks underfoot, lift it, correct the soil beneath, and place it again rather than forcing the high spot flat from above.
Step 6. Water the Sod Immediately
Water as soon as a practical section is complete instead of waiting until the entire lawn is laid on a warm day. Apply enough water to wet the sod and several centimetres of soil beneath it. Lift a corner after watering to confirm moisture has reached the root zone.
Dry edges beside paving often need closer attention because heat from hard surfaces increases moisture loss. Adjust sprinkler overlap so seams and corners receive the same coverage as the middle of the lawn.
How to Water New Sod Until It Roots
New sod should stay moist while fresh roots cross into the soil, but it should not sit in saturated ground. The schedule becomes less frequent as rooting improves. Use the stages below as practical checks rather than relying on a fixed timer alone.
First 7 to 10 days: Check moisture at least daily and water often enough to keep the sod and upper soil cool and moist. Warm, windy weather may require an extra light application, while rain or cool cloud reduces demand.
Around days 10 to 14: Gently tug several corners or seams. Resistance shows roots are attaching to the soil. At this stage, extend the time between waterings and apply more water per session so moisture reaches deeper.
After about 3 weeks: Well rooted sod can usually move toward the irrigation pattern used for an established lawn. Continue checking exposed edges and sunny areas because they can dry faster than the main surface.
Watch for too much water: Persistent puddles, a sour smell, soft footprints, or sod that still lifts easily despite constant irrigation can indicate saturation. Let the surface drain and correct poor sprinkler coverage or drainage.
When Is New Sod Ready for Normal Use?
A green surface does not mean the lawn is fully established. Root grip, soil firmness, and recovery after the first cut are better indicators. Move back into ordinary mowing and foot traffic in stages as the turf shows those signs.
A gentle tug test after about 10 to 14 days is a useful first check. If the sod resists lifting and the soil is firm enough to support mower wheels without rutting, plan the first mow when the grass is roughly one third taller than the intended cutting height. Use a sharp blade and keep the cut light.
Foot traffic can increase gradually after the seams are stable and the grass has been mown successfully. Heavy play, furniture, and repeated wheel traffic should wait about 4–6 weeks after installation, when the roots have firmly established in the soil.
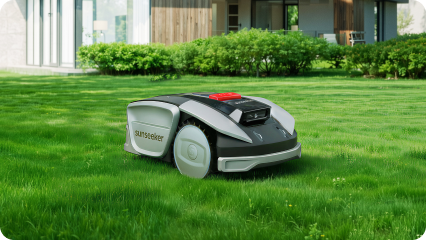
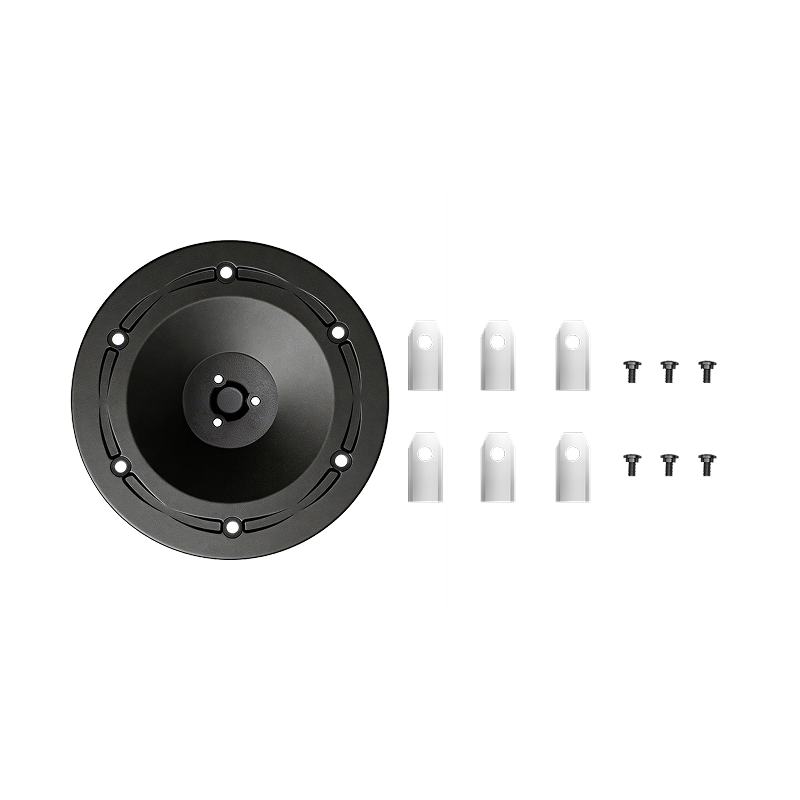
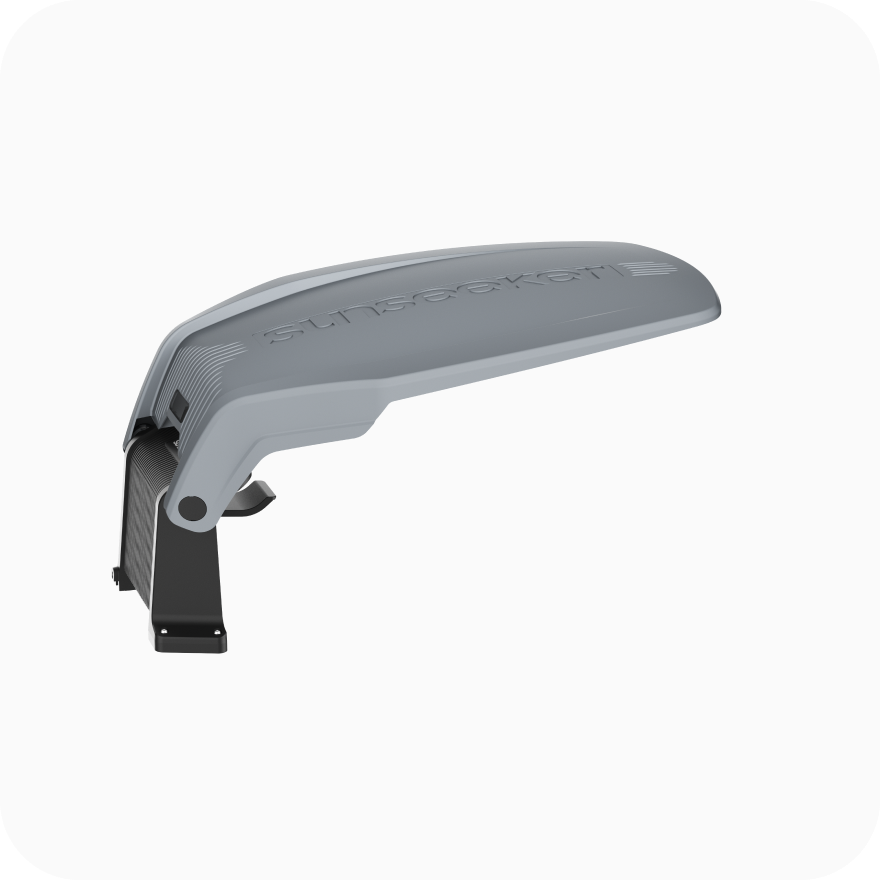
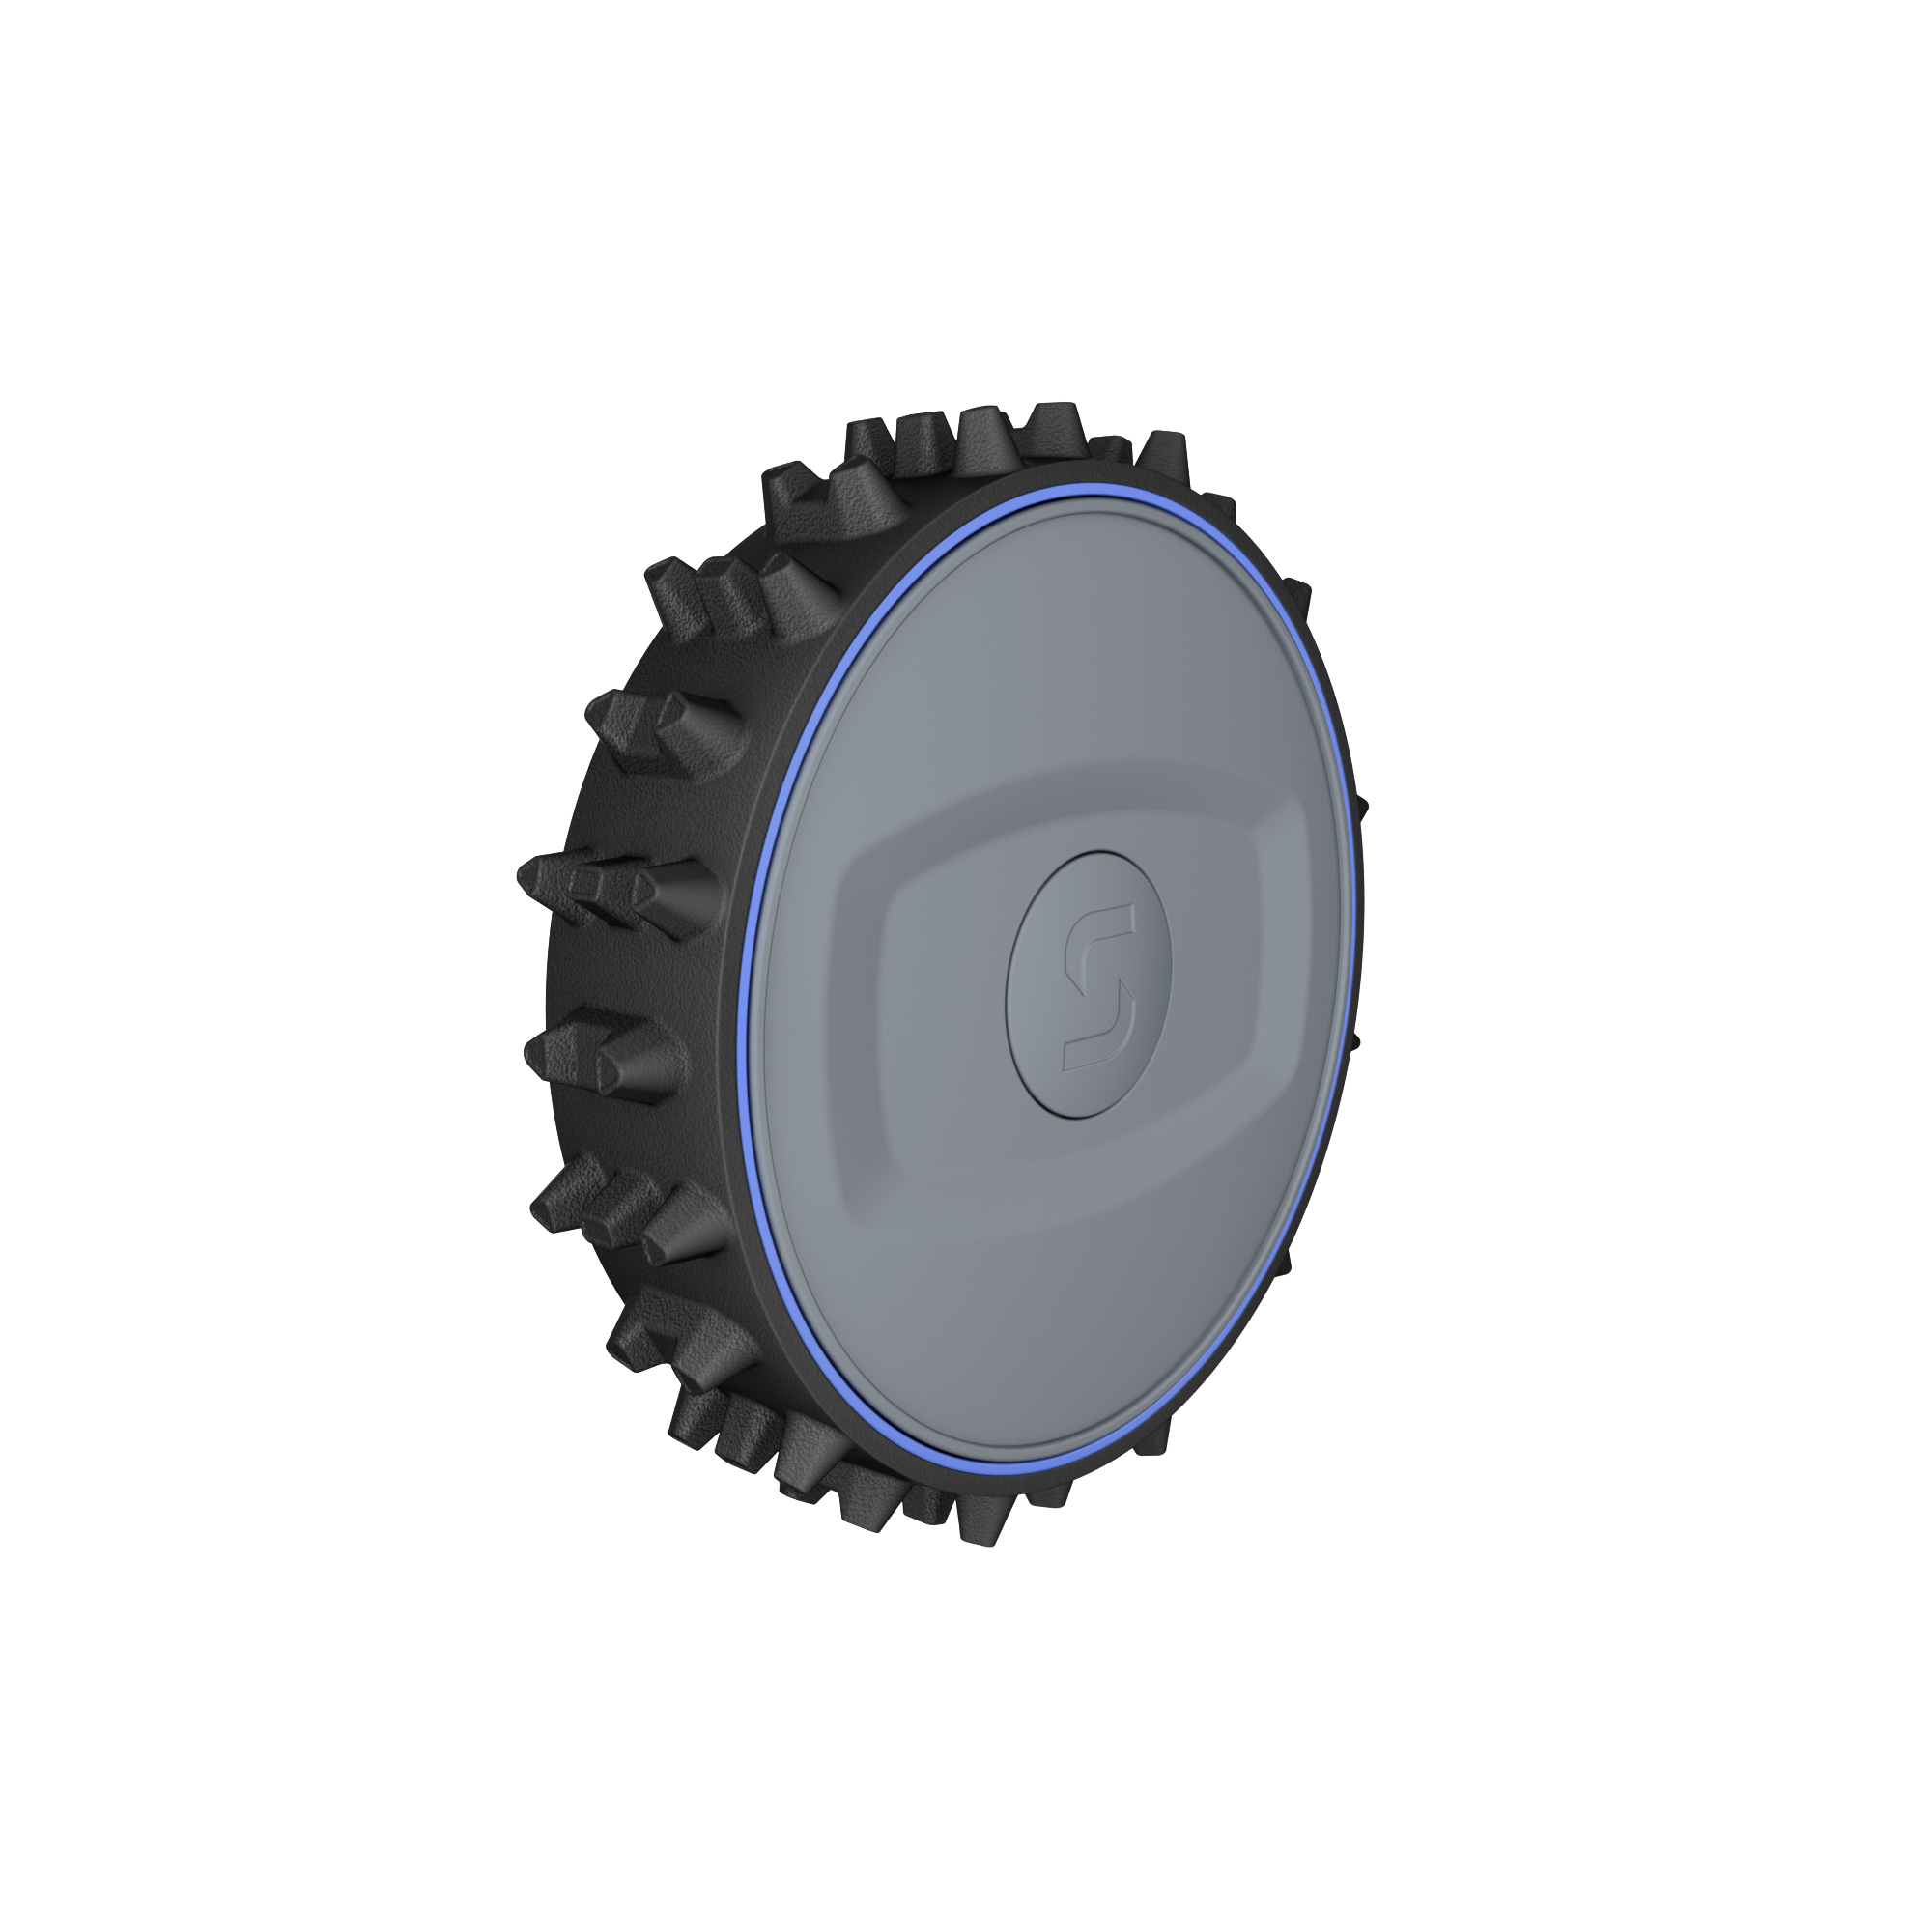
After the lawn has rooted firmly and returned to normal mowing, Sunseeker S5 can maintain it with a 20 to 60 mm cutting height range and 20 cm cutting width. Its scheduled light trimming helps keep established sod at a steady height without the large cuts that follow long gaps between mowing sessions.

That same routine suits Robot Mowers with Mulching Blades. Frequent small trims leave fine clippings that settle through the canopy rather than creating thick piles, giving the new lawn a cleaner maintenance rhythm after establishment.
Conclusion
Laying sod is mostly a race against drying and poor soil contact. Prepare the grade before delivery, place fresh rolls tightly, stagger seams, press them gently into the soil, and water each finished area promptly. Keep the root zone moist through the first week, then reduce irrigation as the sod begins to resist a tug. Normal mowing and traffic should return gradually, after the lawn is rooted and the surface is firm enough to handle them.
FAQs
Can you lay sod over existing grass?
No. Existing grass, roots, and thatch create an uneven layer that blocks new sod roots from making direct soil contact. The old turf can also decompose and settle irregularly underneath. Remove the existing lawn, correct the grade, prepare the soil, and then lay the sod on a firm, clean surface.
How long can sod stay rolled up before laying?
Lay sod as soon as possible, ideally the same day it arrives and generally within about 24 hours of cutting or delivery. Rolled turf heats quickly, especially in warm sun. Keep waiting rolls shaded and slightly cool, and prioritise any material that feels warm or shows drying edges.
Can you lay sod on a slope?
Yes. Lay strips across the slope rather than running them straight downhill, keep seams tight, and secure pieces with biodegradable sod staples or stakes where movement is likely. Water gently enough to wet the root zone without causing runoff. Steeper sites may need erosion control or professional grading before sod is installed.