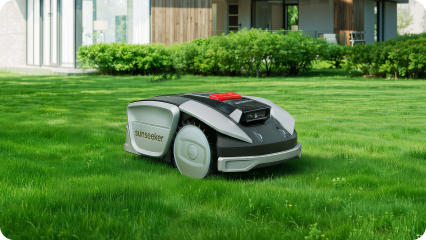
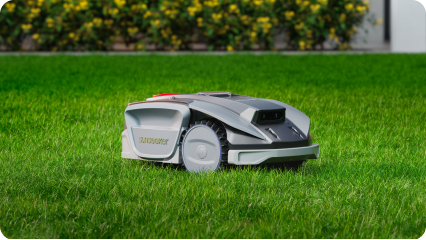
Lawn stripes are created by bending grass blades in opposite directions, making them reflect sunlight to create the visual effect of light and dark bands. Taller grass paired with sharp mower blades provides the best canvas for a bold look. To start, mow a border around the perimeter, then alternate the direction of each slow, slightly overlapping pass along a straight reference line.
Creating stripes in your lawn is an easy task, and if executed correctly, the result can be stunning. Achieving this look doesn't require special fertilizers (like those used in stadiums) or painting. Stripes are created when grass blades that have been bent in opposite directions reflect light differently. A little patience and the right procedure will replicate this effect. In this guide, we will show you how to mow stripes: the equipment and steps necessary to create and maintain those beautiful stripes.

What You Need to Mow Stripes
Here’s a quick look at the tools and prep you’ll need before you start:
A mower: Any good lawn mower can work, as long as it cuts evenly.
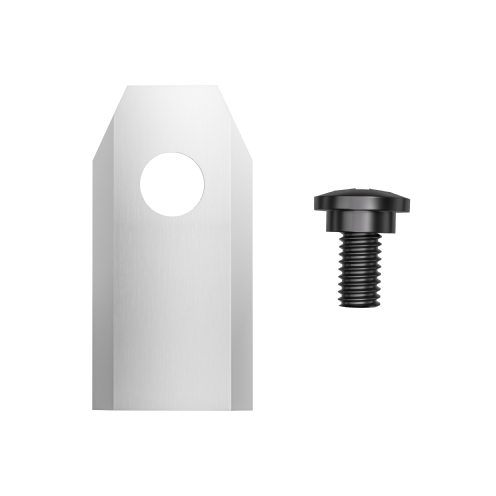
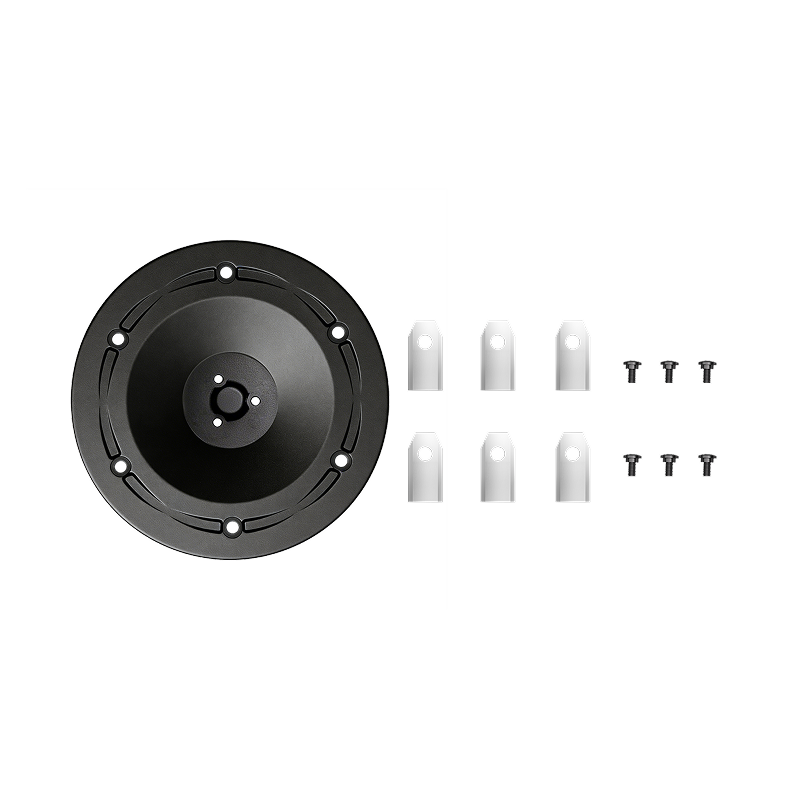
A sharp mower blade: Sharp blades slice grass cleanly. Dull blades tear the grass, leaving ragged tips that can turn brown quickly. A clean cut also helps keep your lawn healthier.
A striping roller, if you have one: A roller helps bend the grass in the same direction, which makes the stripes look clearer and more defined.
A guide line: Use a string line, driveway edge, path, fence, or garden border to help keep your first stripe straight.
Slightly taller grass: Give your lawn a little extra height before mowing. Short grass does not bend enough to create bold, visible stripes.
How to Mow Stripes: Step-by-Step Instructions
To know how to mow lawn stripes, this step-by-step guide covers the exact techniques to establish straight lines, perfect your pattern overlap, and maintain optimal grass health.
First, mow one or two passes around the entire perimeter of your lawn. This border provides a safe turning area at the ends of your rows without damaging the grass.
Next, establish a straight reference line (such as a sidewalk, fence line, or driveway). Make your first pass along the straight reference line, as this will help keep each of the subsequent passes perfectly aligned.
With the first straight line established, after cutting the first stripe, make a complete turn within your border. Align the mower on your second pass so that it slightly overlaps the previous one. This back-and-forth mowing creates the light and dark contrast of your stripe pattern.
Don’t rush through mowing your stripes. Many homeowners produce uneven stripes as a result of mowing too fast; therefore, by mowing slowly, you allow the grass to bend easily and the blade to cut cleanly.
Additionally, don't mow off more than 1/3 of the grass height at each mowing. To avoid cutting it too short, keep your mower deck raised and let the grass grow out for a few days before attempting to stripe it.
Popular Lawn Striping Patterns You Can Try
Once you feel comfortable making straight stripes, you can begin to create designs in your lawn. This section covers patterns that suit different lawn layouts, along with common mistakes to avoid.
Mowing stripes in checkerboard is one of the popular patterns. Mow straight lines across your lawn and then mow a second set at a 90-degree angle. Together, these two sets of lines create a checkerboard pattern similar to professional sports fields.
Best for: Long, wide rectangular lawns.
Mistake to avoid: Failing to mow cleanly into the corners. When you do not have enough room to turn around, your corners can get messy quickly.
Instead of mowing parallel to your house, mow from corner to corner. If you are learning how to mow grass around pavers, use the edge of the paved area as a reference line and make careful, overlapping passes. Diagonal stripes can make small lawns appear much larger and more appealing.
Best for: A front lawn, or any lawn that is seen from the street.
Mistake to avoid: Skipping a reference line. Without one, diagonal stripes will drift off-angle. Use your first pass as a guide for all subsequent rows.
Mowing diagonal stripes in one direction and then at a 90-degree angle to the first will create a diamond pattern rather than the square checkerboard.
Best for: An open lawn with few trees.
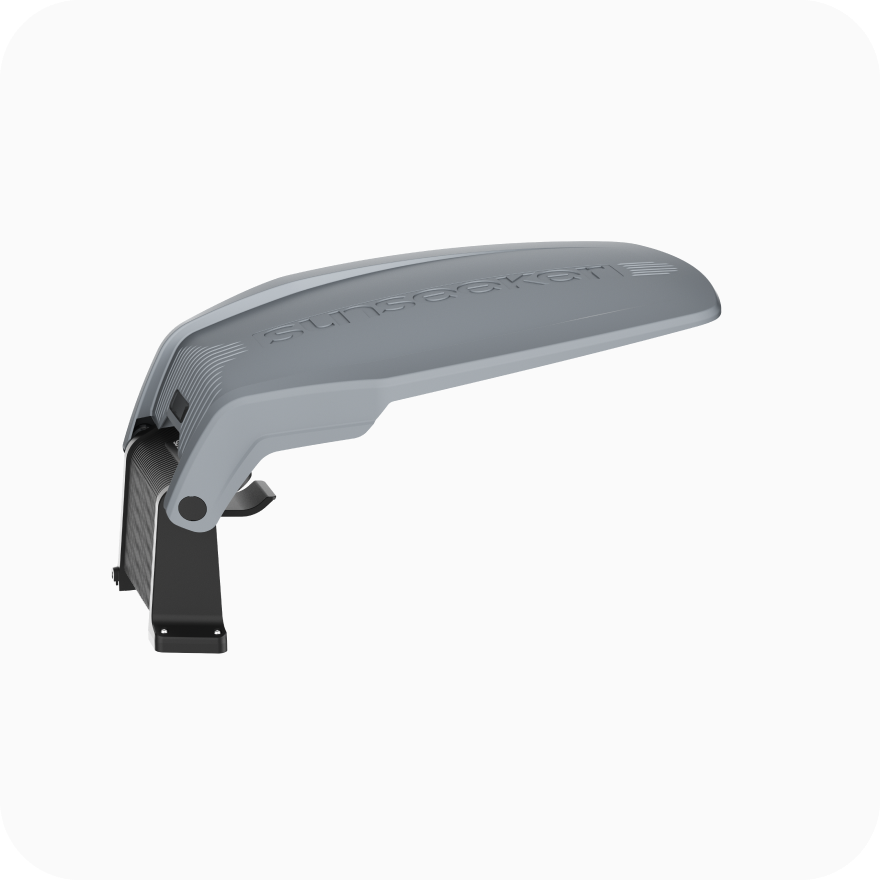
This straightforward, open layout is also the perfect setup to let a smart, wire-free mower like the Sunseeker S3 efficiently automate the repetitive grid pattern for you. Its precise RTK-VSLAM navigation ensures the lines remain perfectly straight, creating crisp, professional-looking intersections effortlessly. By automating this time-consuming task, you gain a flawlessly manicured lawn without the manual labor of repeated passes.
Mistake to avoid: Making the angle too sharp. Typically, a 45-degree angle will produce the best visual effect.
- Wave Pattern Lawn Stripes
Wave stripes create a relaxed, custom look. Follow the natural curve of a garden bed or pathway as your guide. Use your previous passes as a guide for each new pass.
Best for: Informal landscapes, curved beds, and larger lawns.
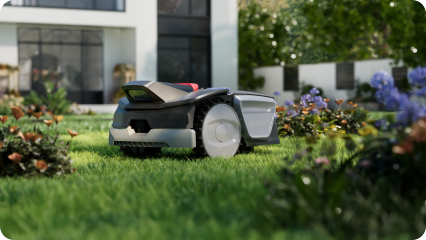
If your yard features complex curves and heavy tree shading, an advanced robotic mower like the Sunseeker S4 can automatically map and navigate these intricate patterns using 3D LiDAR technology.With its powerful 3D vision AI, it proactively identifies and maneuvers around garden ornaments, trees, and curved landscape beds. This ensures consistent coverage in challenging areas, transforming your unique, winding lawn designs into a completely hands-free experience.
Mistake to avoid: Over-adjusting. Large, sweeping curves look intentional and polished; small, tight corrections look erratic and unplanned.

How Often Should You Mow to Maintain Lawn Stripes?
Now that you know how to mow stripes in grass, you might wonder: how often should you actually do it? Rather than following a fixed calendar, mow according to grass growth. During spring, this could be every four to five days, while drought will dictate a longer gap between cuttings. When it is time to cut, strictly follow the one-third rule. If your target height is 8 cm, you should mow once the grass reaches 12cm. To create stronger patterns, change the mowing pattern every few mowings. If you use the same path, the grass can lean more in one direction, which may contribute to soil compaction or rutting in softer areas.
Final Tips for Achieving a Stadium-Quality Lawn
Ready to take your yard to the next level? Understanding how to mow a lawn correctly is the foundation of creating clean, long-lasting stripes. These final expert tips cover everything from crucial mower adjustments to clipping management, making sure your lawn is vibrant, healthy and ready to go.
Mow when the grass is dry. Wet grass does not bend properly and clumps together under the mower blade.
Ensure that the mower deck is level. A tilted mower deck can scalp your lawn or create crooked stripes.
Increase the mowing height in the summertime. Longer grass provides more shade for the soil, bends more easily, and maintains its color longer.
Light and evenly distribute clippings. It promotes plant health and lawn vigor. Leaving clippings on the lawn, rather than bagging them, can reduce the need for nitrogen (N), phosphorus (P), and potassium (K) fertilizers by an average of 1/3.
Edge the yard after mowing. This provides a crisp, clean line between the lawn and your landscaping.
Do not attempt to stripe an uneven lawn. Level any low spots to give the mower an even surface.
Conclusion
How to mow stripes? The key is to consider the stripe as the finishing touch as opposed to part of your overall lawn-care strategy. Healthy, dense turf will always stripe better than stressed, scalped grass.Striped lawns are accomplished through clean-cutting, straight passes, tall blades of grass, and consistently maintaining. Once you’ve become comfortable with mowing in two directions, add more complex mowing patterns such as checkerboard, diagonal, diamond, and curved stripes.
FAQs
What direction to mow for the best stripes?
The best way to mow is in the direction most often used by pedestrians. For instance, if you want the stripes to look best when viewed from inside your house, mow back and forth on a line running directly away from the home toward the street. Conversely, if you will be looking at the stripes while on the back porch looking out onto the lawn, then you should mow the stripes towards the porch.
What is the best height to mow for stripes?
For cool-season grasses (fescue, bluegrass, ryegrass), aim for 7.62 to 10.16 cm. Taller grass bends more severely under a roller and produces stronger light-contrast between stripes. Warm-season grass (Bermuda, Zoysia) stripe more discreetly regardless of their height (3.81 to 6.35 cm) because they have shorter blades and do not bend to a greater degree.
How long do lawn stripes last?
Usually, striped patterns last about 2 weeks, depending on how fast the grass grows and the weather conditions before and after mowing. Grass that grows faster will return to its upright position more quickly, causing the stripes to fade sooner.
How do you stripe your lawn without a roller?
You can mow higher than you normally would and produce every other pass slightly overlapping to eliminate the need for a striping roller to create stripes in your yard. The final striping may not look as prominent, but will still look neat and clean.
Why do lawn stripes appear?
The blades of grass are each bent at a different angle, which causes the grass to reflect light differently depending upon which direction it is bent; therefore, a grass blade that is bent away from you will appear lighter in color than a grass blade that is bent towards you.