A freshly mowed lawn should look clean, smooth, and even. But sometimes, after all that work, you step back and see uneven stripes, shaggy patches, or scalped edges. When this happens, the problem is not always your mowing pattern or blade sharpness. In many cases, the mower deck is sitting out of level, which makes one side of the mower cut lower than the other.
The good news is that this is usually easy to check at home. With a flat surface, a tape measure, and a careful setup, you can find out whether the deck needs adjusting before the uneven cut gets worse. In this guide, we will walk through the safety steps, the tools you need, how to measure the deck, and how to adjust it for a cleaner, more even cut.

Before You Start: Tools and Safety Tips
Before you level a mower deck, make sure you have the right tools and a safe work area.
Tools You May Need
Prepare these items before you begin:
- Tape measure or ruler marked in millimetres
- Wrench or socket set for deck links, lift nuts, or adjustment rods
- Tire pressure gauge
- Work gloves
- Owner’s manual for your mower model
- Small block of wood, if your manual uses one as a deck-height reference
The owner’s manual is especially important because deck pitch and adjustment points can vary by mower. Many riding mower decks are designed with the front blade tip sitting slightly lower than the rear, but the exact range should always come from your model’s guide.
Safety Tips Before Working Near the Deck
Choose a clean, hard, flat surface, such as a garage floor or level driveway. Avoid grass, gravel, or soil because the tires can settle unevenly and give you inaccurate readings later.
Before touching anything near the mower deck, let the mower cool, remove the key, engage the parking brake, and make sure the PTO is turned off. If your manual recommends it, disconnect the spark plug wire or battery connection as well. Wear work gloves when working near the blades, and check that the blades are not bent, cracked, or badly damaged before you measure the deck. A damaged blade can make the deck look out of level even when the deck itself is positioned correctly.
Also check tire pressure before measuring. Tire height affects deck height, so inflate the tires to the pressure listed on the tire sidewall or in the mower manual, and make sure the left and right tires on each axle match.
How to Level a Mower Deck Step by Step
Use the steps in order. Side-to-side level comes first because front-to-back pitch readings are less useful if one side of the deck is already low.
1. Set the Deck to a Normal Cutting Height
Place the mower deck at a normal mowing height before you measure. For many lawns, this may be around 7.5 cm, but use the height you normally mow at or the setting recommended in your mower manual.
Do not measure with the deck at its lowest setting unless the manual tells you to. A mid-range height usually gives a more realistic reading and makes it easier to see whether the deck is sitting evenly.
2. Measure the Blade Height from Side to Side
Rotate the blades so the tips point left and right. Then measure from the floor to the outer blade tip on one side of the deck. Measure the opposite blade tip in the same way.
Always measure from the blade tip, not the deck shell. The deck shell can have curves, bends, or stamped shapes that do not show the true cutting height. The two sides should usually be within about 3 mm of each other, but check your owner’s manual for the exact tolerance.
3. Adjust the Deck for Side-to-Side Level
Find the side lift link, hanger nut, or adjustment rod shown in your mower manual. If one side is too low, raise that side slightly. If one side is too high, lower it slightly.
Make small adjustments and remeasure after each change. Even a small turn of an adjustment nut can change the blade-tip height enough to affect the cut. Avoid making several large changes at once, because that can make it harder to know which adjustment fixed or worsened the problem.
4. Measure the Front-to-Back Deck Pitch
Once the deck is level from side to side, rotate one blade so it points from front to back. Measure from the floor to the front blade tip, then measure from the floor to the rear blade tip of the same blade.
Many riding mower decks cut best when the front blade tip sits about 3–6 mm lower than the rear blade tip. This slight forward pitch helps the blade cut cleanly without forcing the mower to recut clippings too much. However, the correct pitch can vary, so use your owner’s manual as the final reference.
5. Adjust the Front or Rear Deck Height
Use the front draft arm, rear lift links, or pitch adjustment points listed in your manual. If the front of the deck is too high, lower the front or raise the rear according to the mower design. If the front is too low, raise the front or lower the rear.
Again, adjust in small steps. After each change, measure the front and rear blade tips again until the pitch matches the recommended range for your mower.
6. Recheck All Measurements
After the side-to-side level and front-to-back pitch look correct, check the measurements one more time. Confirm that both sides of the deck are still even, then confirm the front-to-back pitch again.
Tighten all locknuts or adjustment hardware once the deck is set. Then raise and lower the deck through its height range to make sure it moves smoothly and does not bind. Before mowing again, reconnect anything you disconnected during preparation and follow the startup steps in your mower manual.
7. Test the Cut
Mow a small test area before cutting the whole lawn. Watch for uneven stripes, scalped edges, or one side cutting lower than the other. If the cut still looks uneven, recheck the blade condition, tire pressure, and deck measurements before making more adjustments.
How to Test the Deck After Leveling
A test cut shows whether the measurements match real mowing conditions. Choose a small, open area with average grass height rather than weeds, slopes, or thin patches that can hide the result.
Mow one test strip at your normal cutting height and speed, then mow a parallel strip in the opposite direction. Stop the mower safely and inspect the cut from a few angles instead of judging from only one side of the yard.
Look for:
- Even grass height between adjacent passes
- No scalped lines at the deck edges
- No raised strip between blades
- Normal clipping discharge, not heavy clumps from one side
- No deck vibration or scraping sound
If one side still cuts lower, remeasure side-to-side blade height. If the mower leaves a center ridge, inspect blade condition and overlap before changing deck height again. If the cut looks even on flat ground but uneven on slopes, the issue may be terrain, traction, or mowing pattern rather than deck level.
Common Causes of an Uneven Cut After Leveling
If the deck measures correctly but the lawn still looks uneven, do not keep turning adjustment nuts at random. The problem may be outside the leveling system.
Common causes include:
- Unequal tire pressure: A small PSI difference can tilt the mower enough to affect cut height.
- Bent or worn blades: A bent blade tip changes the cutting plane even when deck measurements look close.
- Dull blades: Dull edges tear grass and leave a ragged finish that can look uneven from a distance.
- Deck buildup: Packed clippings under the deck disrupt airflow and blade lift.
- Loose spindle or worn bearings: Excess play can let a blade wobble under load.
- Too much ground speed: Fast mowing in thick grass reduces lift and leaves missed patches.
- Incorrect cutting height: Cutting too much at once can exaggerate roughness.
- Uneven terrain: Ruts, roots, and dips can cause scalping even with a level deck.
Fix the visible mechanical issue first, then repeat a short test cut. Relevel only if the blade-tip measurements are still outside the target range.
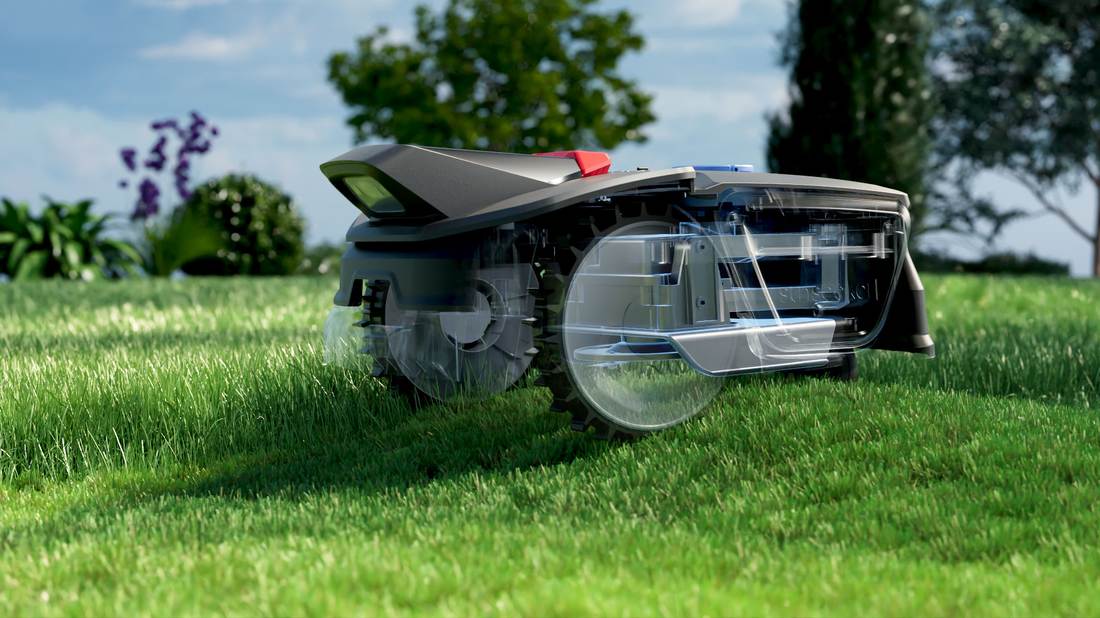
When to Consider a Low-maintenance Robotic Option
Manual deck leveling makes sense if you already own a riding mower, have changing grass conditions, and are comfortable checking blades, tire pressure, and deck links. A lower-maintenance option makes more sense when uneven results are part of a larger pattern, such as missed mowing windows, repeated scalping, or limited time for seasonal setup.
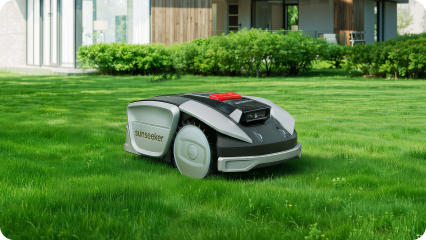
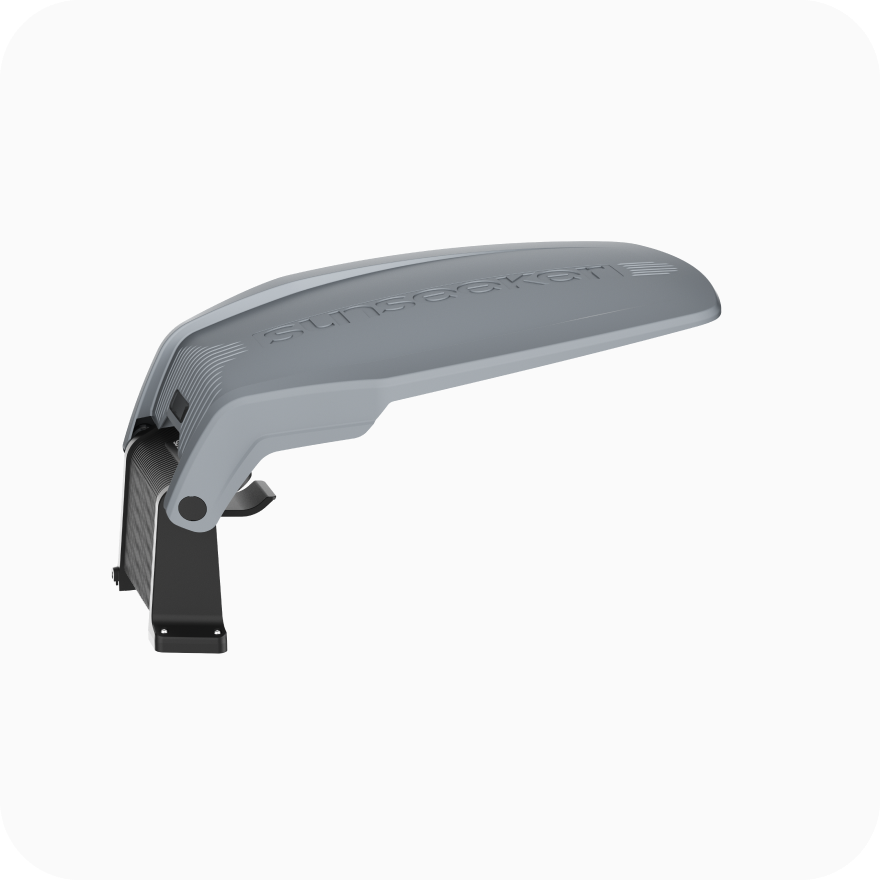
In that situation, Sunseeker V1 is best viewed as a fit-based example. It may suit homeowners who prefer routine, lighter cutting on a defined lawn up to 300 m² and want to spend less time on repeated setup checks.
That trade-off is mostly about convenience versus manual control. A conventional mower lets you inspect and correct deck behavior right away, while a low-maintenance robot lawn mower is more practical when your yard layout is suitable and obstacles are not tightly packed, especially with passages of at least ≥60 cm.
Conclusion
Leveling a mower deck is mostly a measurement job: prepare the mower correctly, set tire pressure, measure from blade tips, level side to side, then set the front-to-back pitch to the manual’s range. If the cut still looks uneven, check blades, buildup, bearings, mowing speed, and terrain before adjusting again. Careful setup helps prevent scalping, reduce missed strips, and restore the even cut your mower is meant to produce.
FAQ
What is the best way to level the deck on a riding mower?
The best way is to measure from the blade tips, not from the deck shell. Park on level concrete, set equal tire pressure, rotate the blades into the correct measuring positions, and adjust side-to-side level before setting front-to-back pitch. Work in small adjustments and remeasure after each change. Always compare your final numbers with the mower manufacturer’s guide.
Should a mower deck be perfectly level?
A mower deck should usually be level from side to side, but it does not always need to be perfectly level from front to back. Many riding mower decks are designed with a slight forward pitch, often about 3–6 mm lower at the front blade tip than at the rear blade tip. This pitch helps the blade cut efficiently without recutting grass too much. Always follow the specification for your mower model.
How to level a mower deck without a tool?
You cannot accurately level a mower deck without at least a basic measuring tool. Guessing by eye can lead to uneven cutting or scalping. If you do not have a deck leveling gauge, use a ruler or tape measure instead. Measure from the floor to the blade tips, then adjust the deck until the readings match.