The secret to a clean pattern is consistency. Uneven mowing lines, sudden turns, or overlapping too much can make the stripes look messy, even when the grass is cut to the same height. Using a lawn roller or striping attachment can also help make the contrast between light and dark stripes more noticeable.
If you're wondering how to get lines in your lawn, the best place to start is with a simple striped pattern before trying more detailed designs. This guide explains how lawn striping works, the steps to create different patterns, and how to keep your grass healthy while maintaining clean, visible stripes.
What Makes Lawn Stripes Look Light and Dark?
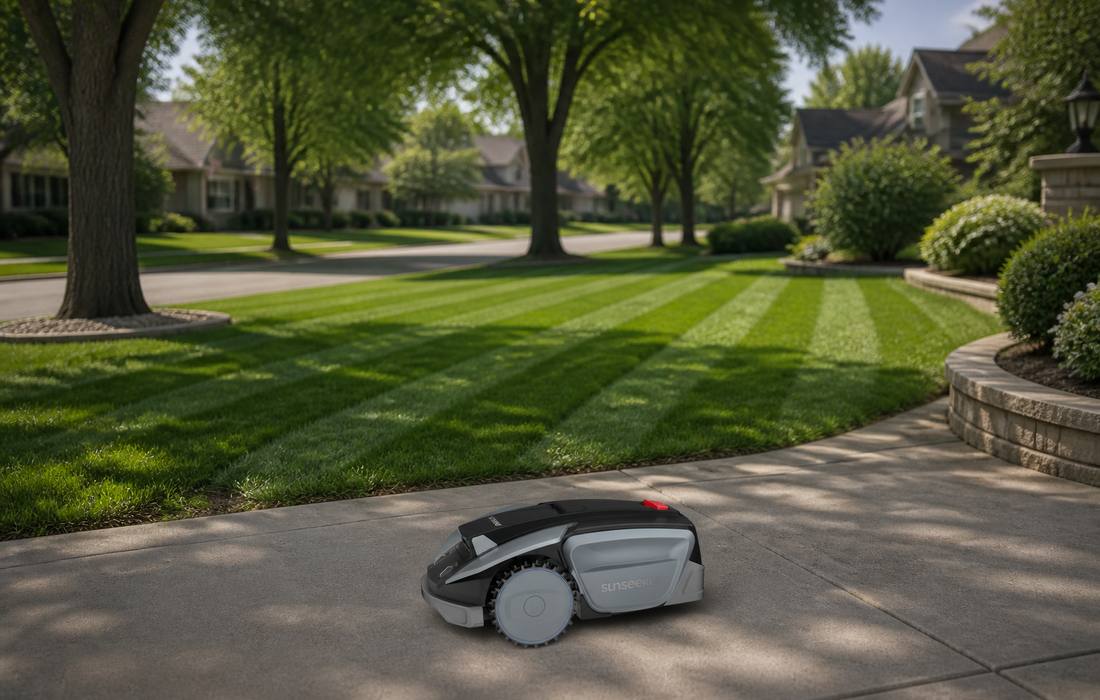
Lawn stripes are created by the way grass blades reflect sunlight, not by differences in grass color or cutting height. The direction of the blades and the angle from which you view them both affect how clearly the pattern appears.
Grass Blades Bent in Opposite Directions
When you mow in alternating directions, the grass is pushed one way on one pass and the opposite way on the next. Blades bent away from you expose more of their surface to reflected light and usually appear lighter. Blades bent toward you show more tips and shadow, creating a darker stripe.
A roller or striping attachment bends the grass more consistently than mower wheels alone, producing stronger contrast. Grass with enough length and flexibility to lean over generally shows the pattern more clearly.
Sunlight and Viewing Angle
The appearance of each stripe changes with the direction of the light and where you stand. A band that looks light from one end of the lawn may appear dark when viewed from the opposite end.
For a more noticeable pattern, plan the mowing direction around the main viewing point, such as a patio, window, path, or garden entrance.
What Do You Need Before Striping the Lawn?
Before you start mowing stripes, make sure your lawn and equipment are ready. Healthy grass, sharp mower blades, and a clear mowing path will help you create more even lines. Here are the main things to prepare:
A mower with sharp blades: Sharp blades cut grass cleanly, helping the stripes look neat instead of leaving rough or torn grass tips.
A lawn roller or striping attachment: These tools bend grass more evenly and can make light and dark stripes easier to see.
A straight reference line: Use a fence, sidewalk edge, string, or another fixed point to guide your first mowing pass.
Dry, upright grass: Dry grass is easier to cut and bend evenly. Wet grass may clump together and leave uneven marks.
A suitable mowing height: Leave enough length for the grass to bend naturally. Cutting too short can weaken the lawn and make striping less effective.
Enough space for turning: Plan where you will turn the mower so you do not repeatedly damage the grass at the ends of each stripe.
A pattern that fits your lawn: Straight stripes work well for rectangular lawns, while diagonal designs may suit irregularly shaped yards.
How to Stripe Your Lawn Step by Step
Creating clean lawn stripes starts with one straight mowing pass. Each additional pass should follow the previous one while alternating direction to create the light and dark pattern. Follow these steps to get an even, professional-looking result.
Step 1. Prepare the Mower and Attach a Striping Roller
Before mowing, check that your mower blades are sharp and the grass is dry. For more visible stripes, use a mower with a built-in rear roller or attach a compatible lawn striping kit. The roller bends the grass as you mow, helping create the light and dark lines.
Make sure the roller is installed correctly according to the manufacturer's instructions. Choose a suitable cutting height that leaves enough grass for the blades to bend without damaging the lawn.
Step 2. Mow the Perimeter
Start by mowing around the outer edges of your lawn. Make one or two passes along the perimeter to create enough space for turning the mower when you begin making the stripes.
Keep the cutting height the same as the rest of the lawn so the border blends naturally with the pattern. This outer section also provides room for turning without disturbing the main stripes.
Step 3. Make the First Straight Pass
Choose a fixed point at the far end of your lawn and mow toward it in a straight line. As you move forward, the roller behind the mower bends the grass in the direction you are traveling, creating your first stripe.
Keep your eyes on the reference point rather than directly in front of the mower. Maintain a steady speed and avoid unnecessary steering adjustments to keep the line as straight as possible.
Step 4. Turn and Mow in the Opposite Direction
When you reach the end of the first stripe, turn the mower in the perimeter area and head back alongside your previous pass. Overlap slightly to avoid leaving uncut grass between the two stripes.
As you mow in the opposite direction, the roller bends the grass the other way. This creates the contrast between light and dark stripes. Keep your speed and direction consistent to make both lines look even.
Step 5. Repeat the Pattern Across the Lawn
Continue mowing back and forth across the lawn, changing direction after each pass. Follow the edge of the previous stripe to keep the lines straight and approximately the same width.
If a line starts to curve, adjust your direction gradually rather than making a sharp turn. Repeat this process until the entire lawn has alternating light and dark stripes.
Step 6. Clean Up Borders and Turn Marks
Once you have finished the stripes, check the lawn for uneven edges, missed grass, or visible turning marks. Make another pass around the perimeter if necessary to give the pattern a cleaner finish.
Avoid making repeated tight turns, especially when the soil is damp, as this can damage the grass. Use wider turns whenever possible to protect the lawn and preserve the finished stripes.
Which Lawn Striping Patterns Are Easiest to Create?
Once you can mow straight, even lines, you can experiment with other lawn striping patterns. Some designs only require alternating directions, while others involve mowing across an existing pattern. The following three options offer different looks and levels of difficulty.
Straight Parallel Lines
Straight stripes are the easiest pattern for beginners because they only require mowing back and forth in opposite directions. They work especially well on rectangular lawns, where you can follow the previous line to maintain a consistent pattern.
For a cleaner appearance, keep the stripes approximately the same width. Using the width of your mower as a guide can help create even bands without making the lines unnecessarily narrow.
Checkerboard Patterns
A checkerboard design combines two sets of stripes that cross each other. First, mow the entire lawn in straight, parallel lines. Then turn your mowing direction by about 90 degrees and repeat the process across the first set of stripes. This creates alternating light and dark squares.
Because this pattern requires mowing the lawn in two directions, it involves more passes and turns than simple stripes. Avoid creating it when the grass is stressed by heat or drought, and change patterns between mowing sessions to reduce repeated pressure on the same areas.
Diagonal and Diamond Patterns
Diagonal stripes can give your lawn a different appearance without changing the basic mowing technique. Instead of mowing straight across the yard, create your first stripe at an angle and continue making parallel passes. To form a diamond pattern, add another set of diagonal stripes crossing the first.
These designs can work particularly well for lawns with unusual shapes or layouts. However, the first angled pass needs to be straight because even small changes in direction can become more noticeable as you continue mowing.
How Do You Keep Stripes Sharp Without Stressing the Grass?
Creating visible stripes should not come at the expense of your lawn's health. Cutting grass too short or repeatedly mowing over the same areas can weaken it over time. To maintain both healthy grass and attractive stripes, follow these practices:
Follow the one-third rule. Remove no more than one-third of the grass height during each mowing session to avoid putting unnecessary stress on the lawn.
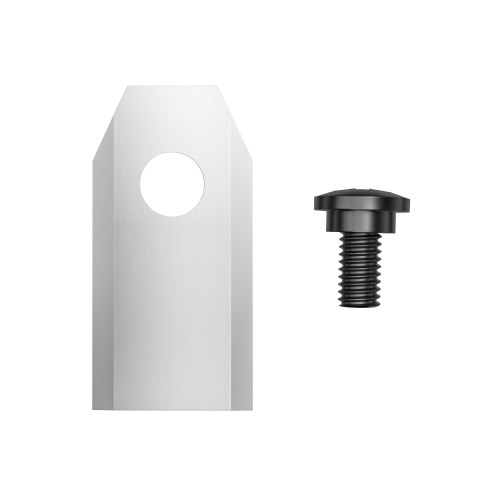
Keep mower blades sharp. Sharp blades create cleaner cuts, while dull blades can tear the grass and leave the lawn looking uneven.
Mow when the grass is dry. Dry grass bends more evenly and is less likely to clump together or leave messy wheel marks.
Avoid mowing too short during hot weather. Longer grass helps shade the soil and protect the roots when temperatures are high or rainfall is limited.
Change your striping direction regularly. Alternate between straight, diagonal, and other patterns to avoid repeatedly pressing the grass along the same tracks.
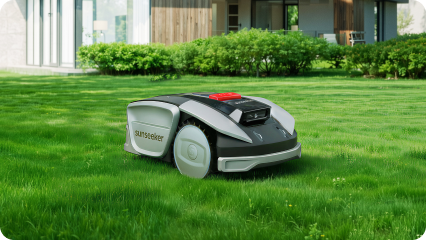
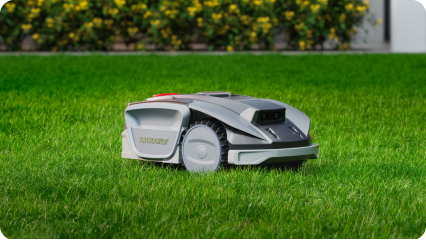
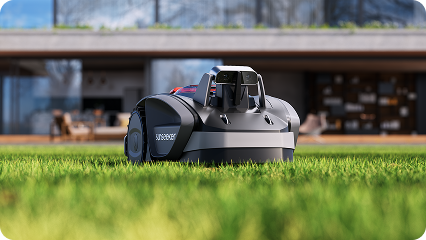
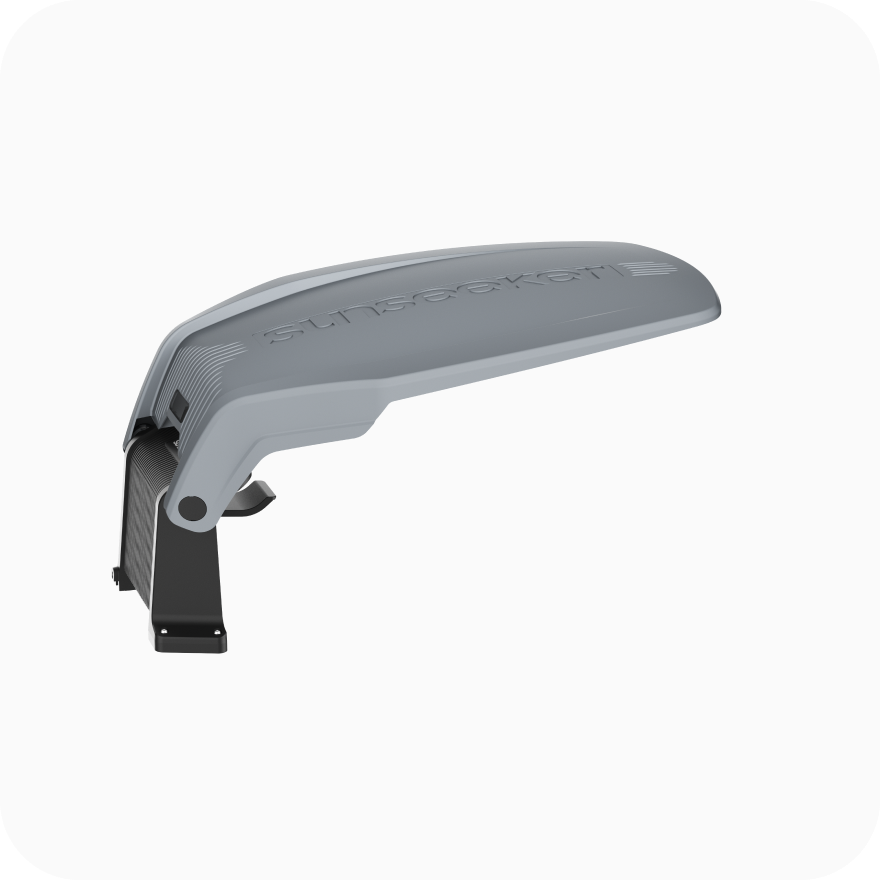
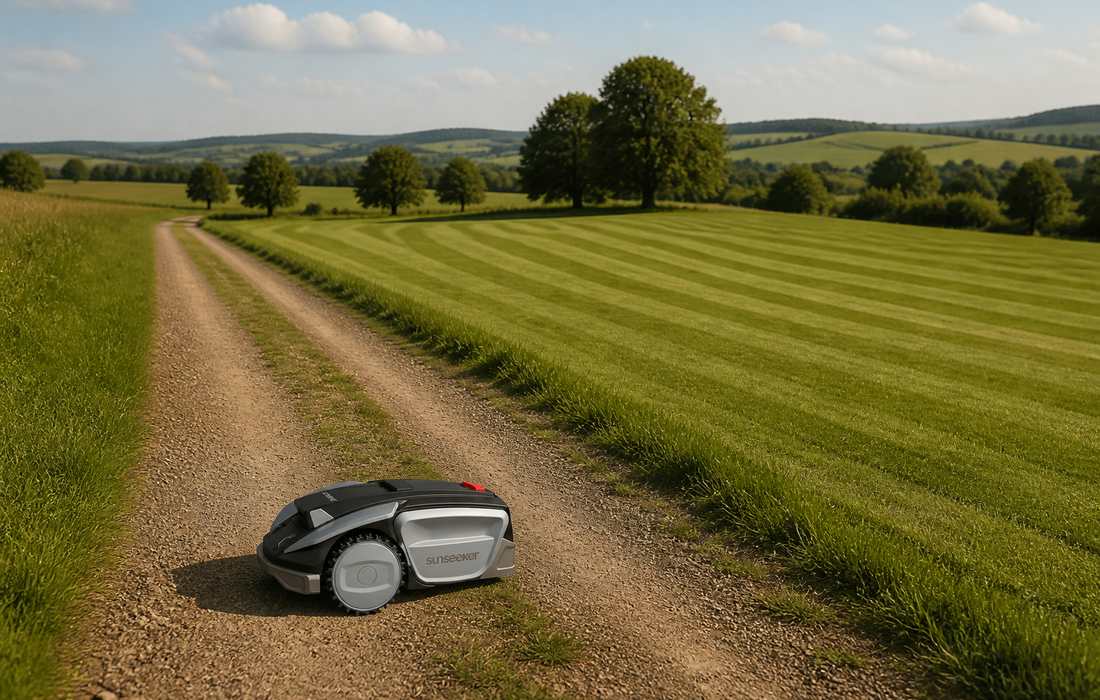
Between striping sessions, regular mowing can help keep the grass at an even height, making it easier to create new patterns the next time. For larger or sloped lawns, the Sunseeker S5 offers an alternative to frequent manual mowing. Its all-wheel drive (AWD) and DualFusion™ positioning support routine mowing across areas of up to 1,600 m², allowing you to focus on creating decorative stripes when you want a more distinctive lawn appearance.
Conclusion
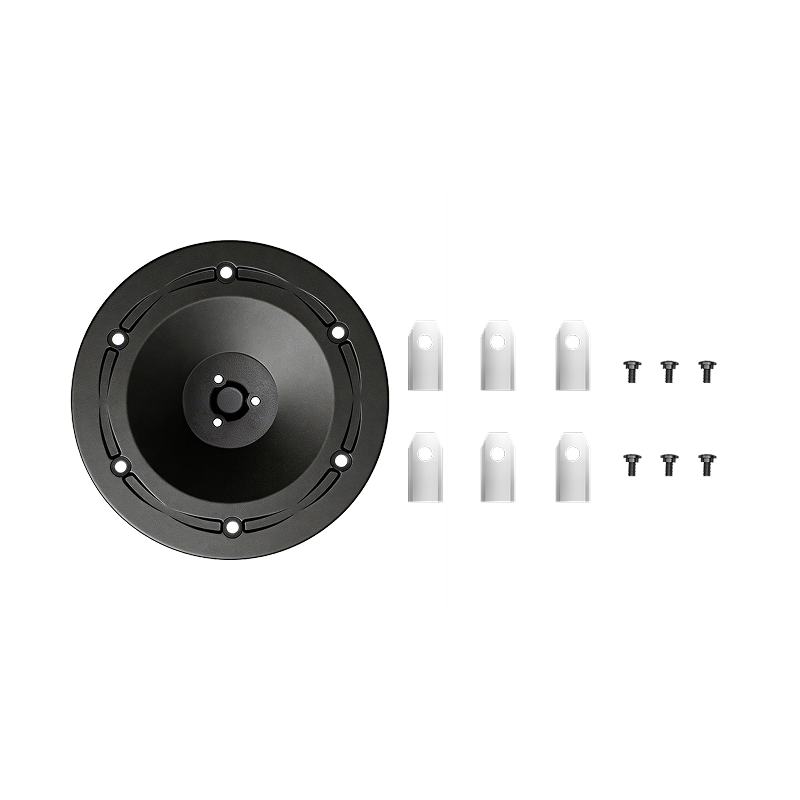
Creating attractive lawn stripes is all about controlling the direction of the grass blades. Start with a straight mowing line, alternate directions for each pass, and keep your turns outside the main pattern. Once you are comfortable with parallel stripes, experiment with checkerboard or diagonal designs for a different look. Remember to keep your mower blades sharp and avoid cutting the grass too short. Between striping sessions, robot mowers with mulching blades can handle routine cutting and leave fine grass clippings that return nutrients to the soil, helping keep your lawn healthy and ready for your next design.
FAQ
How Long Do Lawn Stripes Usually Last?
Lawn stripes typically remain visible for around 3–14 days, depending on how quickly the grass grows and how much foot traffic or rainfall the lawn receives. As the grass grows and the blades return to their natural position, the stripes gradually fade. Using a roller may help them last longer, but excessive rolling can place unnecessary pressure on the grass.
Which Grass Types Show Stripes Most Clearly?
Grass varieties with longer, flexible blades usually produce the most noticeable stripes because they bend easily and hold their direction. Cool-season grasses such as perennial ryegrass and many fescue varieties often create clear patterns. In contrast, very short, stiff, or coarse grass may show less difference between light and dark stripes.
Does Lawn Striping Damage Grass?
Lawn striping is generally safe when done correctly. However, cutting the grass too short, using excessive roller pressure, or repeatedly making tight turns can damage the lawn. To reduce these risks, avoid striping when the soil is very wet or the grass is stressed by drought. Changing your mowing pattern regularly can also help protect the turf.