A lawn can look thick and still struggle underneath. Water may run across the surface, fertilizer may seem slow to work, and the mower can scalp patches where its wheels ride over a spongy layer. Those symptoms sometimes point to thatch, but they can also come from compacted soil, dry roots, or ordinary grass clippings caught in the canopy.
Dethatching is a mechanical job, so the decision deserves a quick inspection before you rent equipment or start pulling at the turf. A quick measurement before renting equipment prevents unnecessary damage. This guide covers the removal threshold, tool choice, controlled passes, and recovery care that helps turf fill back in.
Does Your Lawn Actually Need Dethatching?
Thatch is a tightly interwoven layer of living and dead stems, roots, and other plant material between the green grass and the soil surface. It is not the same as loose clippings sitting on top after mowing. A thin layer can cushion the turf and help moderate temperature and moisture changes; the problem begins when the layer becomes thick enough to interfere with water movement and rooting.
Cut a small wedge of turf with a spade in three or four representative areas. Measure the brown, springy layer between the green blades and the mineral soil. A layer around 13 mm or less is generally not a reason for aggressive removal. When it approaches or exceeds 3 cm, the lawn may benefit from dethatching, especially if the turf is shallow-rooted or water does not penetrate evenly. Use the measurement together with the lawn’s condition rather than treating a number as an automatic instruction.
Check the soil beneath the layer. If a screwdriver or soil probe stops at a dense mineral layer, compaction may be the larger issue. Core aeration removes plugs of soil and creates channels for air and water; dethatching removes the organic mat above the soil. A lawn can need one, the other, or neither. Pulling a power rake across compacted soil will not create the deep pores that core aeration provides.
When Should You Dethatch Your Grass Type?
The best timing is when the grass is actively growing and can repair the openings created by the work. Cool-season lawns such as Kentucky bluegrass, perennial ryegrass, and tall fescue are commonly dethatched in late summer to early fall, often August through September in northern areas. This window provides cooler weather and time for recovery before winter. Early spring can work in some regions, but it may expose weed seed and leave turf stressed as temperatures rise.
Warm-season grasses such as bermudagrass and zoysiagrass are usually treated during active summer growth, often late spring through midsummer after full green-up. Avoid aggressive work during heat waves or drought. A lawn that is brown from dormancy or visibly stressed has limited ability to recover from the thinning caused by mechanical removal.
Choose a day when the soil is slightly moist but not wet. Very dry turf can tear, while saturated soil can rut under equipment. Mow the lawn to a manageable height according to the tool instructions, and remove excessive surface debris first. If you plan to seed after dethatching, check the local growing window before starting; the work should leave enough time for new grass to establish.
Which Dethatching Tool Should You Use?
The tool should match the area and the thickness of the thatch. Hand tools are generally suitable for smaller areas and light buildup, while powered equipment can cover larger lawns more efficiently. However, more powerful equipment also requires careful depth adjustment to avoid pulling out healthy grass. The following table compares common dethatching tools and their main considerations.
| Tool |
Best use |
Main consideration |
| Thatch rake |
Small lawns or isolated patches |
Requires physical effort; depth is controlled by hand |
| Power rake / dethatcher |
Medium to large areas with a measurable thatch layer |
Blade spacing and depth can remove too much turf if set aggressively |
| Vertical mower / scarifier |
Dense or heavier thatch that needs a more controlled renovation |
Often requires experience and follow-up seeding |
For a small lawn, a hand rake may be sufficient even if it takes longer. For a large area, a powered dethatcher reduces labor but increases the risk of removing too much material in one pass. If the thatch layer is very deep—around 5 cm or more—the turf may have developed roots within the mat. Removing it all at once can strip away living grass, so staged renovation or professional help may be safer.
How Do You Dethatch a Lawn Step by Step?
Once you have confirmed that dethatching is necessary and selected the appropriate equipment, the next step is to remove the excess material without damaging the healthy turf underneath. The key is to work gradually, starting with a conservative depth setting and checking the results before making adjustments. Follow these steps to dethatch your lawn safely and evenly.
Step 1. Prepare the Lawn for Dethatching
Mow at the height recommended by the equipment manufacturer and collect heavy clippings. Mark sprinkler heads, shallow wires, and other obstacles. Water lightly a day or two beforehand if the soil is too dry for the tines to move smoothly, but wait until the surface is firm enough to support the machine. Check the weather forecast for a cool, suitable recovery period.
Step 2. Set the Working Depth
Raise the blades or tines so they barely reach the thatch layer during the first pass. They should comb through the organic mat rather than slice deeply into the soil. Test a small, less visible section. If the machine pulls up large sheets of healthy turf or exposes extensive bare soil, stop and raise the setting.
Step 3. Work Across the Lawn Evenly
Move at a steady pace and follow the machine instructions for overlap. On a lawn with moderate buildup, one controlled pass may be enough. A second pass at a different angle is appropriate only if the test area shows that more material remains and the turf is holding together. Avoid repeatedly crossing the same strip to chase a perfectly clean appearance.
Step 4. Collect the Loosened Thatch
Rake or collect the loosened material so it does not form piles that smother the grass. Separate healthy turf pieces from the dry organic debris. Compost only material that is free of mature weeds or disease concerns; otherwise dispose of it according to local yard-waste rules.
Step 5. Inspect the Exposed Surface
Measure the remaining layer in a few places and look for healthy crowns and soil contact. The lawn should not be stripped to bare soil everywhere. If large areas are thin, plan a suitable overseeding or repair rather than running the machine again immediately. Where compaction is also present, schedule core aeration as a separate operation when conditions favor recovery.
How Should You Help the Lawn Recover After Dethatching?
The lawn may look rough for a short period because the process exposes the soil and removes some plant material. Recovery depends on grass type, season, and how much thatch was removed. Focus on restoring moisture and coverage without adding another stressful treatment too soon.
Restore Appropriate Moisture
Water enough to keep the root zone from drying while new growth develops. If the soil is already moist and rain is expected, additional irrigation is unnecessary. Avoid frequent shallow watering once the grass begins recovering; established roots benefit from deeper watering that encourages growth downward.
Repair Damaged Areas
Where healthy grass remains, allow it to fill small openings. Overseed larger thin areas with a mixture suited to the existing grass and site conditions. Use the package rate for renovation rather than the higher rate intended for a completely new lawn. Keep seed in contact with soil and maintain consistent surface moisture during germination.
Resume Mowing at the Right Stage
Wait until the grass is actively growing and tall enough for a normal cut. Remove no more than one-third of the leaf blade at a time. If the lawn was overseeded, wait until seedlings are anchored and can tolerate the mower without being pulled out. Keep mower traffic light while the surface is loose.
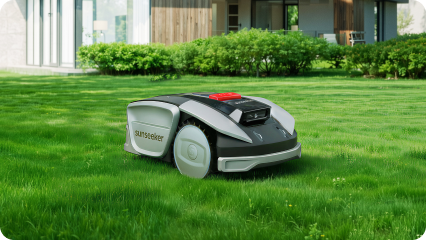
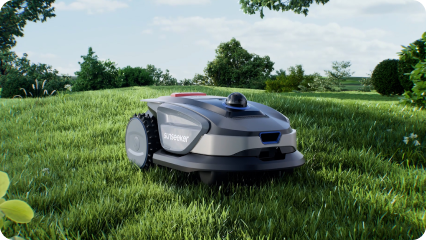
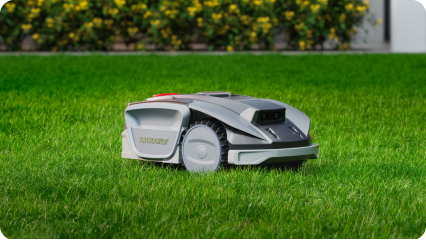
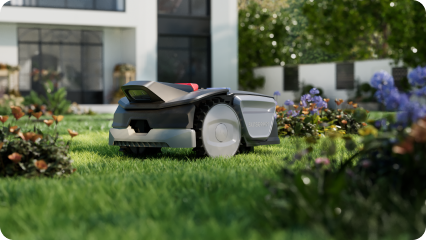
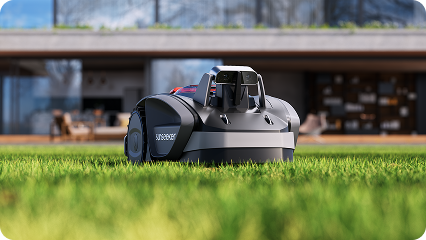
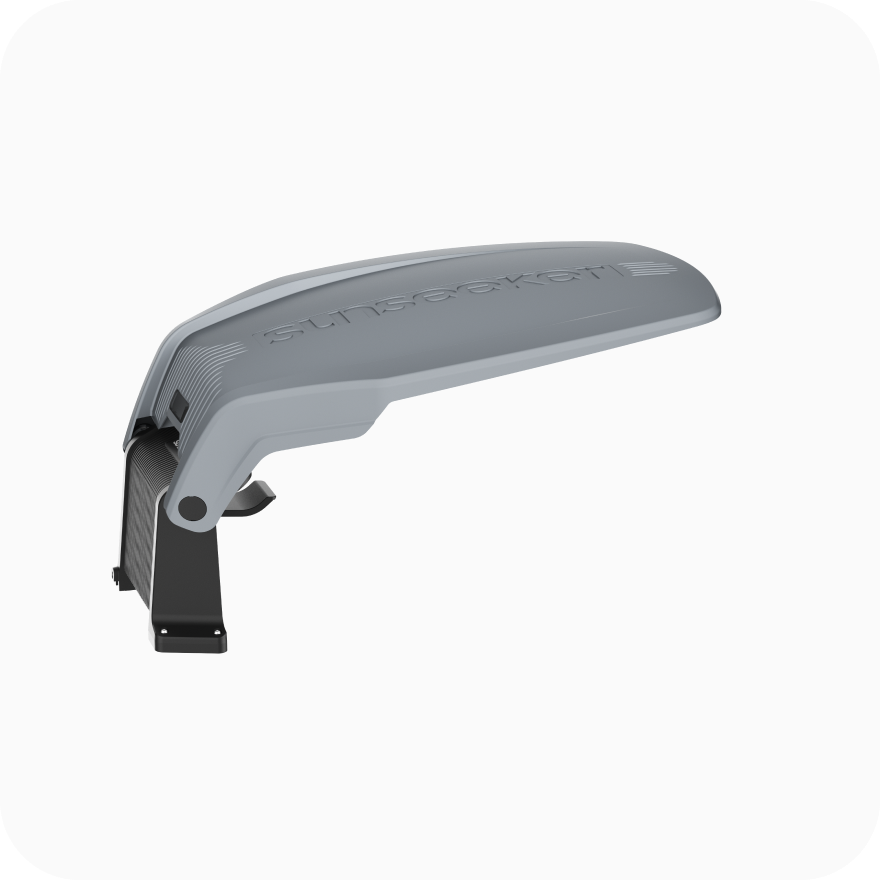
A robotic mower can support the routine mowing phase once the lawn has recovered and is ready for regular cutting. The Sunseeker S5 is designed for for lawns of up to approximately 1,600 m² and combines AWD with RTK/VSLAM positioning, helping maintain larger gardens with varied terrain.
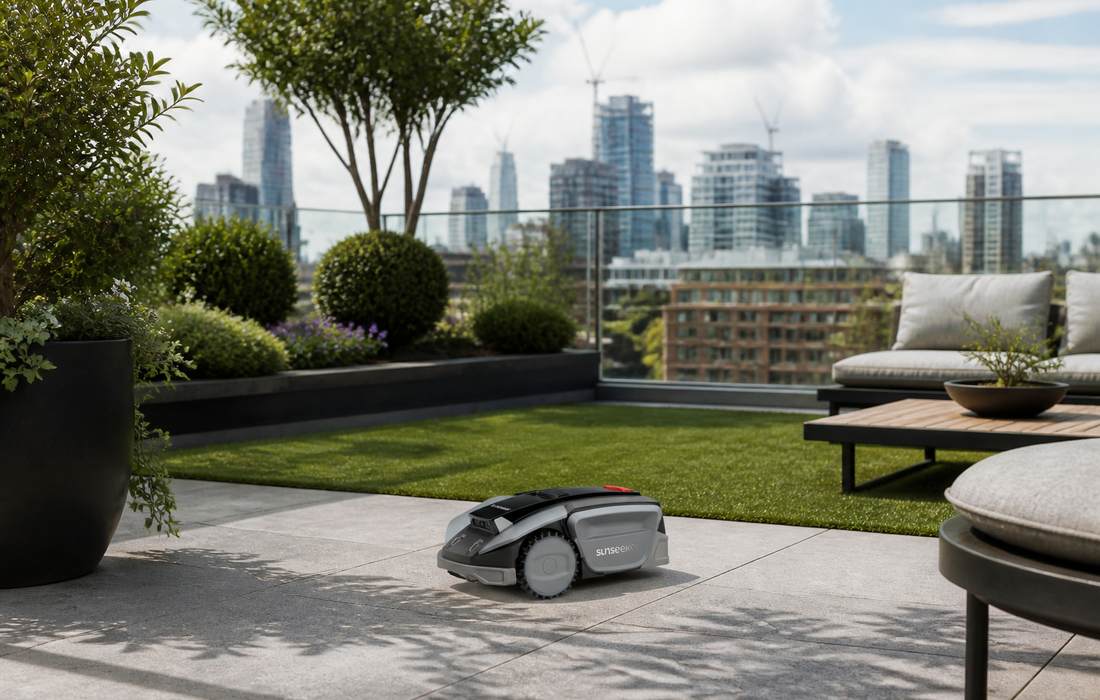
For homeowners comparing ongoing mowing options, the Robot Lawn Mowers range provides a separate view of models for different yard layouts. You can keep grass neatly trimmed and maintain a well-groomed lawn throughout the growing season.
Conclusion
Dethatching is only necessary when the thatch layer becomes thick enough to interfere with water penetration, airflow, or healthy root development. A thin layer is a normal and beneficial part of a lawn, while buildup approaching or exceeding 3 cm may indicate that removal is worthwhile. Before getting started, check the thatch depth, identify the type of grass you have, and choose a suitable growing window. Use the right tool with a conservative depth setting, and avoid removing more material than the turf can tolerate. After dethatching, maintain appropriate soil moisture, repair thin areas where needed, and resume regular mowing only when the grass is ready. With proper timing and follow-up care, your lawn can recover and develop healthier, more consistent growth.
FAQ
Is Power Raking the Same as Dethatching?
Power raking is a common name for mechanical dethatching with rotating tines or blades. The exact action depends on the machine and its setting. A vertical mower can cut more aggressively than a light power rake, so check the attachment and working depth rather than treating the names as interchangeable.
Can You Dethatch a Newly Established Lawn?
Avoid mechanical dethatching on a newly seeded lawn during its first growing season. Young grass needs time to develop roots and fill in. If loose debris accumulates, rake lightly by hand. Consider dethatching only after the turf is established and a measured thatch layer has become excessive.
Can You Rent a Dethatcher Instead of Buying One?
Yes. Renting often makes sense because most home lawns do not need dethatching every year. Compare the rental cost with the size of the area and ask for a demonstration of depth adjustment before use. For a small patch, a hand rake may be more practical than renting powered equipment.