A lawn can keep you busy without ever really improving. One month you spread fertilizer, later you treat weeds, then you reseed a bare patch that dries out again. Each job may make sense on its own, but the results stay uneven when they are not part of the same plan.
Good do it yourself lawn care is easier when the work follows your grass, soil, weather, and season. This guide helps you build a simple lawn care plan for mowing, feeding, watering, weeds, and repair, so each job supports the next one instead of becoming another quick fix.
What Tools Do You Need for DIY Lawn Care?
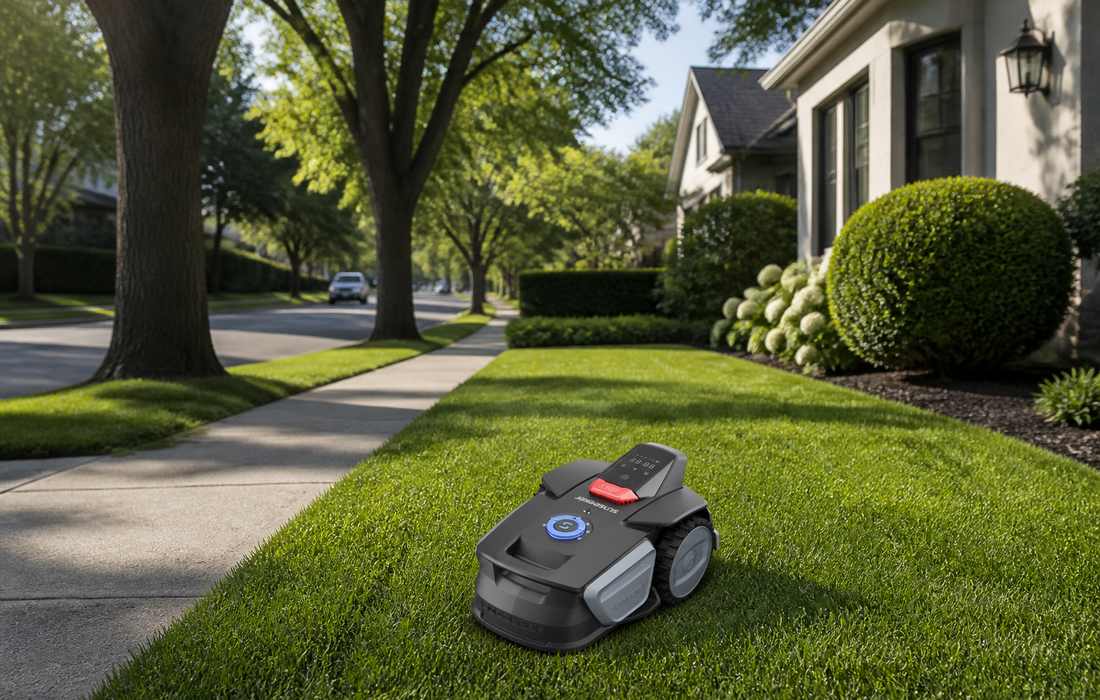
When you do your own lawn care, a mower and a handful of hand tools cover most of the work. Heavier machines are only worth it when a specific problem shows up, such as compacted soil. It helps to sort your gear by how often you'll use it.
Everyday essentials
A mower with a sharp blade and a height setting suitable for the grass species.
A hose or irrigation system with a way to measure water output, such as catch cups or a rain gauge.
A soil probe, trowel, or screwdriver for checking moisture and collecting samples.
A tape measure or measuring wheel to calculate lawn area for seed, fertilizer, and amendments.
A spreader that can be calibrated to the product label rate.
Rake, leaf collection tools, and a broom for hard surfaces.
Gloves, eye protection, and other personal protective equipment required by product labels.
Tools to rent or borrow when needed
Some lawn care jobs require specialized equipment that you may only use occasionally. Renting or borrowing these tools can save money and storage space.
Core aerator: Removes small plugs of soil to relieve compaction and help air and water reach grass roots.
Dethatcher or power rake: Removes excess thatch buildup. Use it when thatch is the problem, not soil compaction.
Slit seeder: Cuts shallow grooves and places seed directly into the soil, making it useful for overseeding an existing lawn.
Most homeowners only need these machines occasionally, so a one-day rental is often more practical than buying them.
Optional equipment
A broadcast or drop spreader gives more even coverage with granular products. A soil thermometer makes seeding dates easier to judge. A sprinkler timer saves effort once you know how much each zone puts out. Buy tools for problems you actually have, not to fill a shed.
How Do You Build a DIY Lawn Care Plan Step by Step?
A do it yourself lawn care program works best when you figure out your grass and soil before you set a routine. Keep notes as you go, so next year's decisions come from what actually happened rather than from memory. The steps follow the order most homeowners tackle them in.
Step 1. Identify Your Grass Type
Find out whether the lawn is mainly cool-season or warm-season turf. Tall fescue, Kentucky bluegrass, perennial ryegrass, and fine fescues are common cool-season grasses. Bermudagrass, zoysiagrass, St. Augustinegrass, and centipedegrass are warm-season types. Identify the dominant grass before setting mowing height, seeding season, fertilizer timing, or dormancy expectations. If the lawn is a mixture, note the species that make up most of the area.
Step 2. Test the Soil
Collect a representative soil sample and send it to a laboratory. The report can show pH and nutrient levels, then recommend lime, sulfur, or fertilizer only where needed. Keep the report with the lawn calendar. A test every two to three years is a practical interval for many established lawns, with additional testing after major soil changes or persistent symptoms.
Step 3. Set a Mowing Routine
Choose a cutting height based on your grass species and the season, and avoid removing more than one-third of the grass blade in a single mow. For many tall fescue lawns, a height of around 7.5-10 cm helps shade the soil and support healthy growth. Bermudagrass is typically maintained shorter, with the ideal height varying by cultivar and mower type.
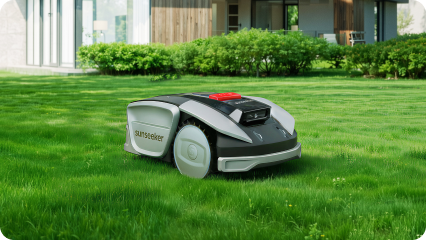
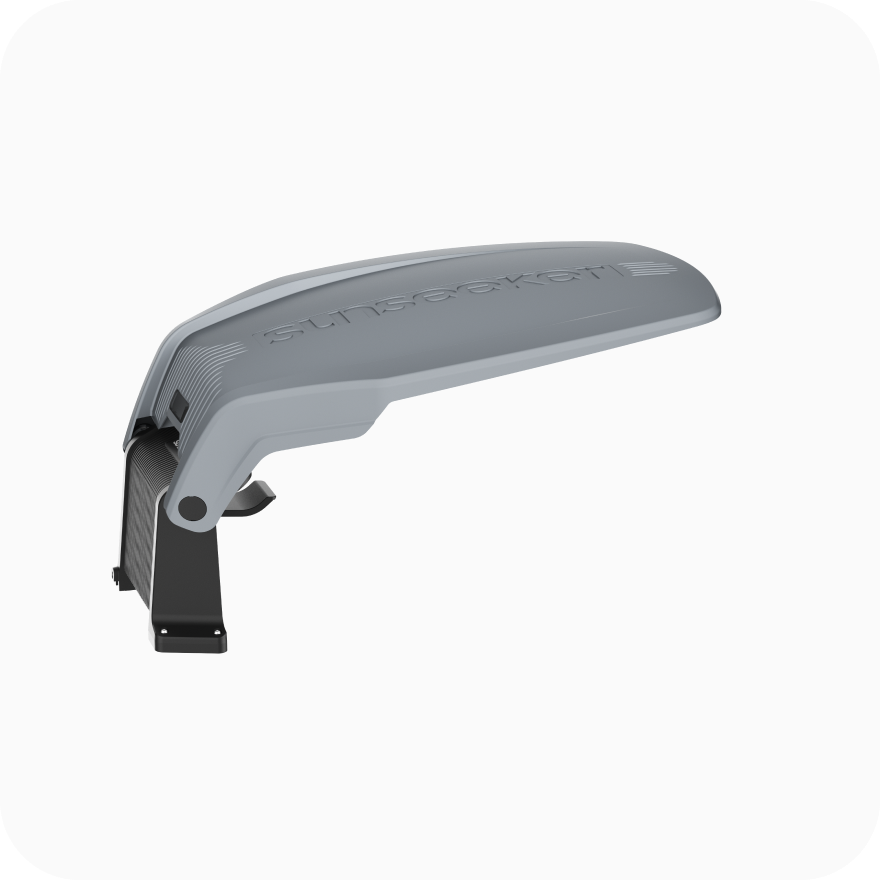
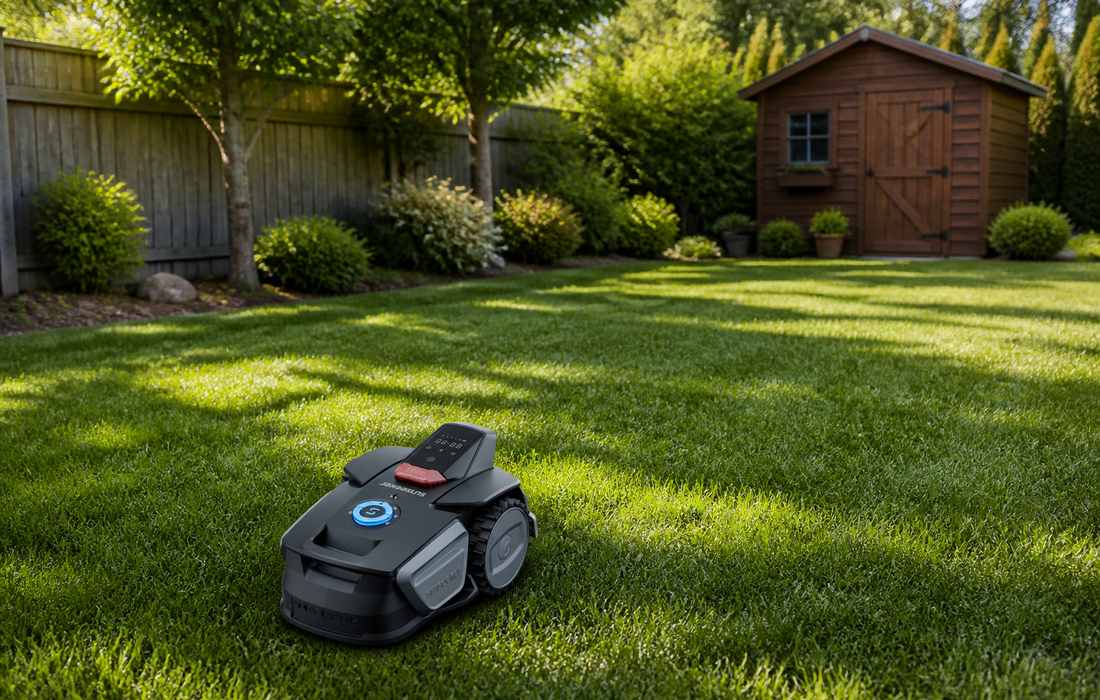
Adjust mowing frequency as the grass grows, cutting more often during periods of rapid growth and less often when growth slows. For smaller lawns, a robotic mower such as the Sunseeker V1 can make regular cutting easier to maintain. Designed for simple gardens up to 300 m², it uses Vision AI navigation and ReadyGo one-click operation to simplify routine mowing.
Step 4. Build a Watering Schedule
Use rainfall and soil moisture to decide when to irrigate. For established lawns, about 3 cm of total water per week is a common starting reference during active growth, but local restrictions, soil texture, and grass type matter. Measure sprinkler output with catch cups and calculate zone run times. Water deeply enough to moisten the root zone, then allow the surface to dry between sessions. Newly seeded areas need lighter, more frequent moisture until roots develop.
Step 5. Plan Fertilizer Applications
Use the soil report and grass growth cycle to choose the timing and nutrient rate. Cool-season lawns often use fertilizer in early fall and late fall, while warm-season grasses receive nutrients during active summer growth. Avoid feeding dormant or heat-stressed turf. Read the guaranteed analysis and calculate the product weight needed to supply the recommended nitrogen rather than spreading an arbitrary number of bags.
Step 6. Schedule Needed Lawn Repairs
Repair thin or bare areas when the grass can establish before the next period of heat, drought, or freezing. Late summer to early fall is often the strongest window for cool-season lawns; late spring to early summer suits many warm-season species. Aerate compacted soil, dethatch only when the layer is excessive, and choose seed, sod, or plugs according to the grass and size of the damaged area.
Step 7. Record Results and Adjust the Plan
Keep a simple log with dates, products, rates, weather, irrigation totals, mowing height, and visible results. Note where weeds returned or where water pooled. This record prevents duplicate treatments and helps distinguish a recurring site problem from a one-time weather event. Review it at the start of spring and again in late summer before planning major repairs.
Common Lawn Problems and How to Fix
Lawn symptoms rarely come from just one cause, so any do it yourself lawn treatment should start with a quick diagnosis. Reaching for a product first is how many yards end up with fertilizer they never needed. These checks cover the issues homeowners report most.
Pale or yellow grass: Check soil pH, nitrogen needs, moisture, and root health before feeding. Yellow color alone does not prove a nutrient deficiency.
Thin areas under trees: Compare sunlight and root competition with the needs of the grass species. Pruning or replacing turf with a shade-tolerant groundcover may be more effective than repeated seeding.
Water pooling after irrigation: Inspect sprinkler output, soil compaction, and grading. Correct leaks or blocked heads before increasing run time.
Weeds spreading through open turf: Identify the weed and its life cycle, then use cultural or label-approved control methods that fit the grass species.
A spongy surface: Measure thatch depth in several spots and dethatch only if it's past about 13 mm. Core aeration fixes compaction, not thatch.
Uneven mowing or scalped high spots: Check the lawn grade and mower deck level. A roller is not a substitute for correcting serious soil contours.
Conclusion
A successful DIY lawn care plan starts with understanding your grass type, testing the soil, and getting mowing and watering right. Add fertilizer, aeration, or overseeding when the lawn needs extra attention, and adjust your routine as the seasons change.
Keeping records of what works will help you build a more effective plan for your yard over time. For regular upkeep, Robot Lawn Mowers can help maintain consistent cutting schedules, leaving you more time to focus on seasonal treatments and areas that need extra care.
FAQ
Is DIY Lawn Care Cheaper Than Hiring a Service?
Often, yes, especially when the lawn is small and the owner can handle mowing, irrigation checks, and occasional repairs. Budget for soil tests, fertilizer, seed, and rented equipment.Hiring a core aerator may involve a daily rental charge, while the cost of a recurring lawn care service varies by region and lawn size.
Can You Maintain a Lawn Without Routine Pesticide Treatments?
Yes. Many lawns can be managed with correct mowing, watering, soil testing, and targeted hand removal or cultural controls. Use pesticides only when the identified pest or weed justifies treatment, and follow the product label and local rules. A dense, well-adapted turf stand can reduce opportunities for weeds to establish.
Can a Robot Mower Replace a Complete Lawn Care Program?
No. A robot mower handles routine grass cutting, not soil testing, irrigation, fertilization, aeration, weed identification, or repairs. It can make the mowing part more consistent, while the homeowner still manages the other jobs according to the lawn's needs.